The Best Controller On Every VALORANT Map
With VALORANT Premier on the horizon, you and your team are probably working out who is playing what agent and what role for your upcoming matches, well we want to help you out with that, so we’ve put together a guide that will help you decide which controller to pick on each map. Controllers, or smoke agents, are a crucial role to fill for any VALORANT match. The 5 controllers currently in the game consist of Astra, Brimstone, Harbor, Omen, and Viper. Each of these agents has its own unique kit with abilities that allow them to fill different niches. You could try substituting some controllers for others, but certain maps will often suit one particular agent more than the other. For example, picking one specific smoker could make the lives of you and your teammates more difficult than another. This guide is going to help make sure that you pick the right controller for the right map and the right situation.
Ascent
The first map on our list, Ascent, lends itself well to Omen. We’ll break down his abilities and why the man of mystery fits so well here.
His first ability is Dark Cover, Omen’s smoke ability which regenerates every 30 seconds. Ascend tends to favor slow play, which is why it favors the regenerating smoke ability so much. Omen’s can also smoke mid or short at the start of each round, ten use another smoke as a reaction to an enemy play, and by the time your team is ready to execute, you’ll still have the smokes required to get in. Then, if your team gets stopped attempting to enter a site, you’ll still have options after you regroup or reposition.
Omen’s Paranoia is what makes Omen thrive on Ascent. More commonly known as his blind, the ability is a strong ability that allows him to effectively gain control of both A man and B main with a single maneuver, freeing up the drone player to use their ability for the site. There are also many areas on site that can be cleared using his paranoia, such as the generator on A or the boathouse on B. The ability’s functionality isn’t just limited to attack either, as you can also blind enemies just as they commit to their push on a site, such as from behind green box on A.
His Shrouded Step allows Omen to bypass utility like mollies and tripwires to teleport directly onto the site and join his duelist in clearing out corners. He can alternatively get directly into boathouse after blinding it to catch any lingering enemies and shut the door to market. Additionally, Omen’s teleports can be a great way to get some unexpected verticality, especially on A site where there are a bunch of tall boxes to hop onto.
Finally, Omen is also great on Ascent because there are a ton of corners that he could ult himself into as his team pushes into site, such as backsite on B or garden on A, which either force an opponent to reposition or get fragged by a creeping Omen.
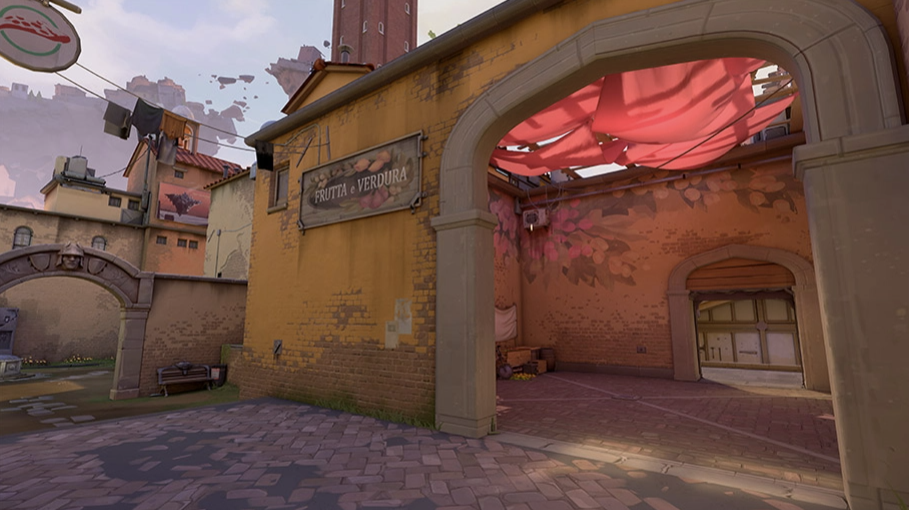
Fracture
The second map on the list is Fracture, and given that both the A and B sites have large open areas beside them, Viper was a strong contender to feature as her wall can be dangerously effective at cutting defenders off from the sites. Our pick, however, is Brimstone, and we’ll explain why.
First, his sky smokes are more flexible than Viper’s wall, allowing for a clean cover setup of either drop or A main if you’re rushing one of the two spots. You also have the option of smoking off the choke point leading into arcade to get control of that and heaven more easily.
His stim beacon can also be extremely powerful when executing a quick rush onto those close-range sites even with nothing but a team of stingers on a save round. Additionally, it can be an excellent way to explode out onto sands to catch unsuspecting defenders off guard and eliminate them in a hurry.
Brim’s molly is the strongest molly in the game, dealing 60 damage per second and lasting a whopping 7 seconds long, which gives it incredible value in almost any situation. You can stall enemy rushes, prevent rotations out of CT, and if you’re feeling particularly spicy, you can use some advanced line-ups in the post-plant situation.
The most important factor in the argument for Brimstone on Fracture is his ultimate. Orbital strike is the perfect countermeasure for the heavy Killjoy meta on Fracture, and it can destroy her ult in seconds, preventing the enemy team from an easy entry onto the site. It can clear off massive sections of the site while rushing, and it’s also a great tool when combined with his molly for the post-plant, with the two being able to keep enemies off of the defuse for a combined total of 11 seconds.
Haven
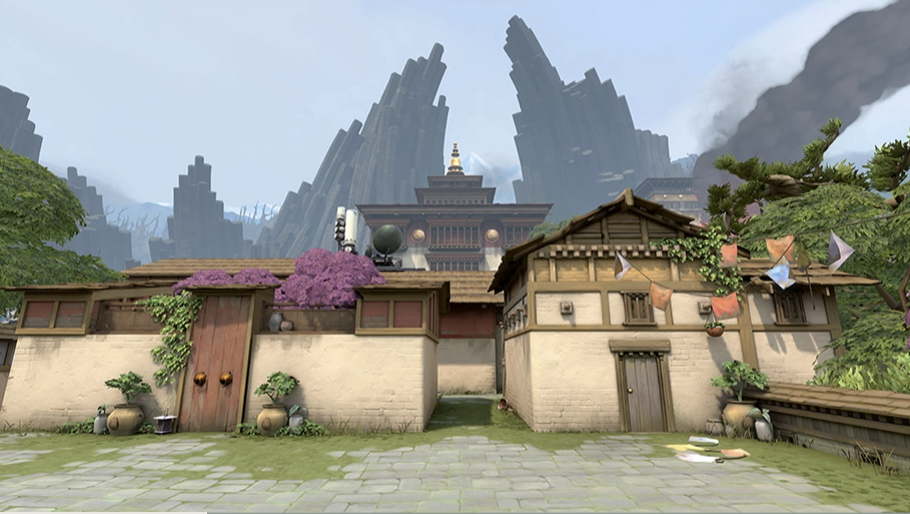
For Haven, we’re going to have to go back to the walking shadow himself, Omen. Haven is a large map, one of the two that features three bomb sites, and as a result, defenders tend to take a longer time to rotate due to the amount of ground that needs to be covered. This makes throwing fakes particularly rewarding and Omen is the perfect controller to do so.
The smokes that slowly regenerate benefit on Haven as you’re able to smoke A early in the round, while still having two smokes ready when you execute on C later on in the round after selling that A fake. Due to Haven’s size, choosing which site to attack is significantly more important, because you don’t want to run face-first into a stacked site. You’ll be even more rewarded if you run a smoke-heavy default, as you have a higher margin for error since they will regenerate over time if something goes sideways, unlike Brim or Astra.
Omen’s paranoia is once again a fantastic argument in his use case here. There are a number of areas to clear using Omen’s blind on attack, such as the backsite on A, left or right side of B, the right side of C from cubby, or the entire stretch of garage. Also, don’t forget that we can use his paranoia from backsite on any of the sites to blind the enemies and offer your teammates some free clean-up frags.
You can cut loose on Haven with shrouded step, as the verticality on all three sites provides you with a number of angles to mop up enemies you’ve just blinded. There are so many different options across the sites, you could be on top of a different box every round on defense and the attackers would never be able to predict your next location.
From the shadows, Omen’s ult, is also a perfect pick for a map as large as Haven. Defenders will need to cover a lot of ground to uproot the ulted Omen, which gives his teammates plenty of time to walk into the site behind them. Alternatively, the defenders could choose to ignore Omen’s threat, but this will cause them to have a perpetual thorn in their side that they’ll need to worry about. Our favorite spots to ult into on Haven are A heaven as the defense needs to wrap all the way around the stairs to address you, or you can ult under A heaven, as most enemies will assume you’re up top and they won’t even bother to turn around. You can always simply play it safe, of course, choosing to use it to clutch when you need to either grab the bomb or slip into the other site with it.
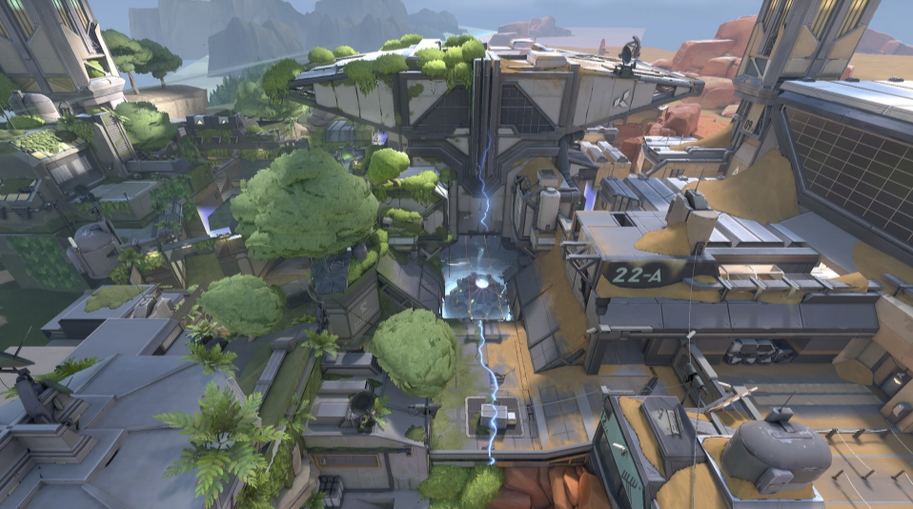
Icebox
Looking at the freezing hallways of Icebox, we only see a single option for a designated controller – Viper. The queen of venom has a host of abilities that make her a total nightmare to face on this map, which we’ll break down.
Viper’s rechargeable wall can cut off huge sections of the map for long periods of time, granting much easier access to sites with wide entry points for defenders, which both sites feature. When you line up her wall at a specific angle on A, Viper can cut off all screens including the area above it, which breaks up the sightlines of any rotating defenders. Over on B site, she can line up her wall from B main to cut off defenders whether they’re on site, back site, top site, or snowman. Her wall can be a valuable tool to retake sites on defense, as you can set the wall up across from the front of yellow at the start of the round, or across the front of A site which can set your team up to perfectly retake the site post-plant.
Her poison cloud ability is a throwable smoke that decays enemies’ health the longer they’re inside of it. It can be used on Icebox to throw the defense off by using it on mid at the start of the round while your team creeps up on either site. When you deny the defenders information, the mid player can’t rotate to help their team as a lurking Viper can catch them slipping. Our favorite strategy is to throw the smoke on mid every round but only actually push mid on a few of them, which puts a lot of doubt into the enemies’ minds and forces them to think twice every round.
The third ability is Viper’s molly, which slowly damages enemies and renders them vulnerable, and makes them take double damage. They’re most commonly used for post-plant lineups and when they’re combined with the decay from Viper’s orb, they can tick down health significantly faster. The best use for them that we’ve found on defense is to deny enemies the plant on B site. Simply place the orb on default, stand on the site near orange, put up the orb, break the Sage wall if it comes, then finally molly the planter. The attackers will be forced to quickly retreat off of the site, or die trying to hold it.
Last but not least is Viper’s ultimate, Viper’s pit. This basically acts as a gigantic version of her poison cloud, and it’s fantastic for post-plant as it forces enemies to clear out corners while taking constant damage. On defense, our favorite place to ult is on top of the 310 box on A. This will cover almost all of maze and prevents enemies from silently taking the rope above without being spotted first. It can stop enterprising enemies in their tracks while also making them think twice about testing A again.
Pearl

Pearl is up next, and it features the first appearance of the galactic goddess herself, Astra. Astra’s kit consists of a pool of four stars that can be used across any of her three abilities, subject to a recharge time. Here’s the breakdown of her abilities and why they work well on Pearl.
First up are Astra’s smokes, and we want to note that Astra is the only controller who can smoke from anywhere on the map. A well-prepared player can quickly place them so her team has the smokes up immediately as they need them. Another aspect that makes her even more unique is her ability to use a quick 1-second smoke at zero cost, which allows her to be particularly successful at countering the common OP B long angle.
On attack on A, we’d recommend smoking the stairs leading to art as well as flowers, which will leave dugout open for your team to fight or take control of. On B, our favorite smokes are on heaven and B link, however, you could substitute the link smokes for a back site smoke if you find the enemies are getting a little too comfortable with an operator or marshal.
Astra’s gravity well, more commonly referred to as her “suck” ability, pulls stationary enemies out of position and also renders them vulnerable. The most common use for the ability is in a post-plant situation, where you pull the defuser off of the spike and stall for time, but it can also be very strong when used in conjunction with her smokes while you’re defending a site.
Astra’s next ability is nova pulse, which acts as a stun for a circular radius. It’s a great way to either force enemies out of corners or concuss them, leaving them as easy pickings for your team. The narrow corridors and close corners on Pearl make it particularly effective on this map.
Astra’s cosmic divide is the ability that really separates her from the other Controllers on Pearl, as it’s perfect for both attack and defense. It’s an easy way to cut off art and flowers on A site, and you can also use it to cut off most of the B site for a fast plant into a post-plant situation. Cosmic divide is also incredibly effective when it’s used to retake sites, as you’re able to prevent the enemies from spraying the bomb on either site from main, which forces the enemy to walk through the wall and into the bullets you and your team have waiting for them.
Split

Split is one of the oldest maps on VALORANT, and features a number of narrow corridors and choke points to be exploited by Omen. His blind and ult certainly made him a strong contender, however, we’re going to actually suggest Astra once again.
Her suck and stuns on the narrow arena that is Split make her too strong to overlook, as the two combined are able to completely clear out B heaven, ropes, elbow on A and many, many more spots. Her ult is ideal for cutting off ramp, heaven and screens for an execution onto A, and it can also be used for a fast plant on B if you use it to cut off a majority of the site before playing crossfire from back site and main. There’s not much more that we can really say about Astra here on Split, as the strength of her utility speaks for itself.
Lotus

Coming in the final place on the list is Lotus, the most recent addition to VALORANT’s map pool. Lotus, like Haven, features the three site layout and a ton of real estate to move around on. There is, however, a much longer lead-up to the sites, with the potential for attackers to pivot through the breakable door to B or the rotating door to B or C. Given these options, we’re going with Brimstone for Lotus.
Brim can deploy all three of his sky smokes simultaneously and without warning, which makes him excellent for setting up fast rushes, especially when you consider he’ll be speeding up his team and himself by 15% with his stim beacon.
When the map is wide and the enemies have no fast options to rotate, a rush can be just what’s needed to secure a site before the defenders can show up in time to support their teammates. With the attackers having the opportunity to turn on a dime and change their intended site from A to B, B to C or vice versa, Brimstone’s fast smokes can catch enemies off balance on their rotation through spawn.
Once the bomb is down, hours spent in customs between studying Youtube videos will finally pay off as Lotus features a number of line-ups the average Brim enjoyer can use to stop the defuse and secure the round. Meanwhile, on defense, Brimstone’s molly cans top enemies in their tracks, which gives his team the time needed to rotate across the map.
If the fact that he allows enables your team to 5-man rush every round with huge success wasn’t enough, his insane ultimate is particularly effective against the commonly picked Killjoy that you’ll see on Lotus due to the small sites.
If you disagree with any of our picks here, please be sure to tell us why, as we’re happy to hear any counter-arguments that suggest another controller for a specific map, just be sure to try out suggestions on for size first to make sure you’ve tested our advice in practice!