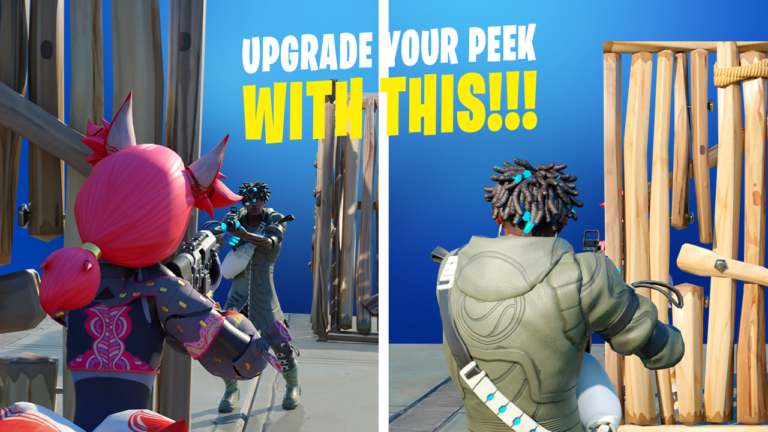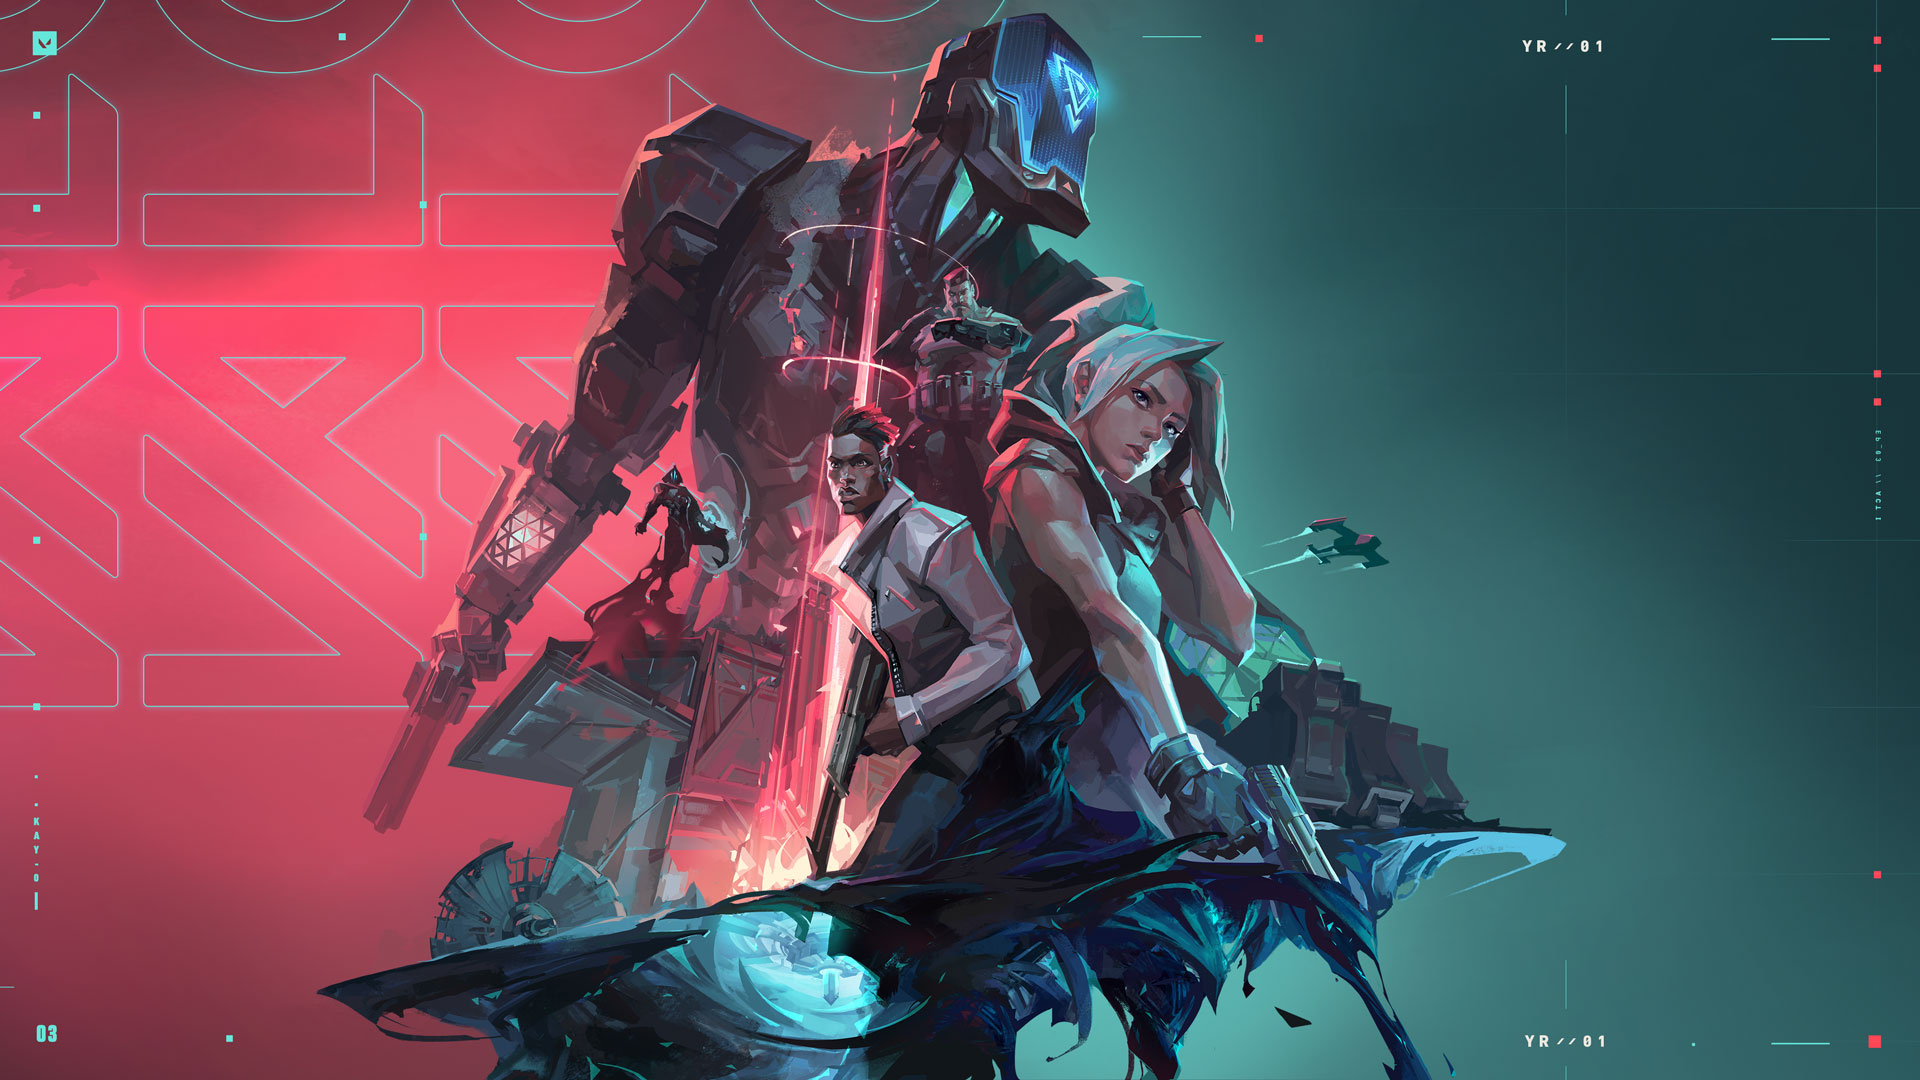
3 Strategic Tips You Need for 7 VALORANT Maps
With the variety of paths and methods of approach for each VALORANT maps, they can be pretty difficult to understand at a high level. Whether it’s attacker-side defaults being difficult to discern or defenders struggling to know when they should play more aggressively, each map comes back with a number of potential problems you will need solutions for.
In an effort to make the process of learning the maps easier for you, we’ve put together 3 strategic tips for a number of maps, to equip you with some concepts you can use to build on.
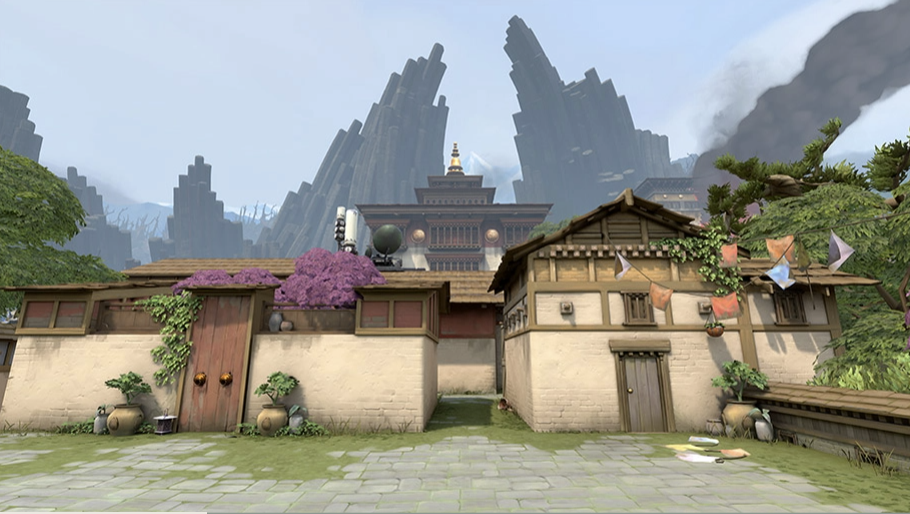
Ascent
Historically known as a defensive-sided map since it’s inception, Ascent’s attack side has been the make-or-break point of many ranked matches. As an attacker on Ascent, most players will either take B main, mid, or A main to execute into the sites, but did you ever consider how many opportunities can be presented based on how you path in on attack?
1: Market Dash
Let’s say that your team wants to do a B split. Instead of Jett dashing onto switch to close the market door, you can updraft dash into market for an unexpected crunch with your team in mid. This will allow you to flank the defense who are holding against on B site by going through market. It will catch them off-guard, giving your team a significant advantage and enabling your rotation into A site from defender spawn. This will also present an opportunity to create a few different distractions.
2: Defense Default
Ascent is a very mid-heavy map, so mid-control for either team is extremely important. For defense, a common default on buy rounds is called a 2-1-2, which breaks down as 2 players set up at either site while 1 player controls mid. Typically, the duelist takes center stage in any default since they are the ones making first contact.
Here, we are going to use Jett as an example. Jett mains will enjoy this, as they are able to pull up with their operators in arches or short to try to earn an early numbers advantage. The goal is to have Jett able to rotate the operator after getting a kill to start in mid, but be prepared, as info initiators like Sova or Fade may use utility to clear you out. To account for this, have one of the site players stay with you early to break utility for you while you seek out first blood.
3: Attacker Default
While you’re attacking, defaults into mid should be a little more stacked compared to the defense since you require more utility to clear angles players such as the defending Jett are holding.
We recommend starting with a 1-3-1 default, with your sentinel and smokes lurking opposite sides of the map, holding for pushes and playing safe for information while your duelist and initiators take space in mid. This way, if you get picked into B market or A short, you can take either site. Remember, you don’t always have to commit on the first kill.
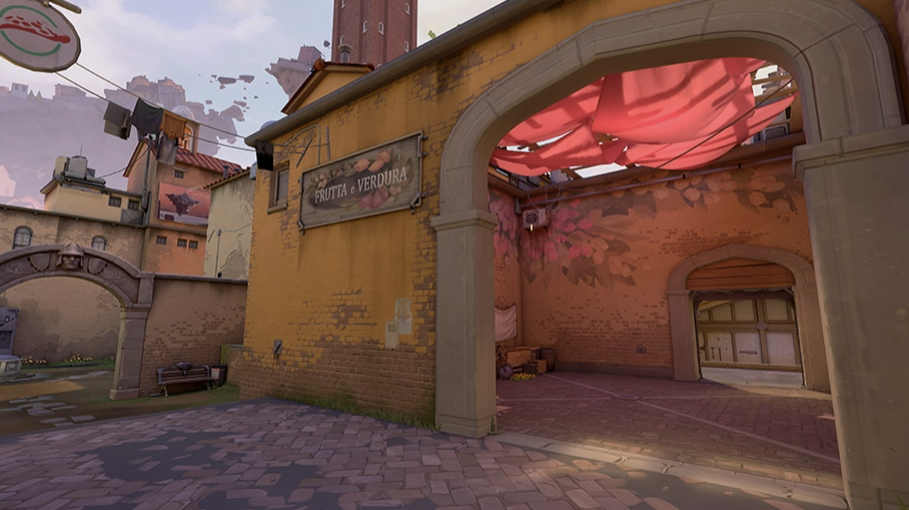
Bind
With Bind back in the competitive pool, we figured a refresher would help get you on the right track of our favorite teleporting dream map. This map has historically been defender sided, but the new teleport may change the timings for some of the plays that you often see. We suggest taking our strategic tips into consideration while also experimenting with the timings with friends offline to make sure everything lines up.
1: Showers Crunch
For this play, you’ll either want to split 2 B long with 3 showers, or reverse this with 3 B long and 2 showers. For this strategic tip, the basic concept is you’ll do this in these scenarios: The enemy attackers have been taking showers control from you to grab the ult orb consistently, your team is bonusing close-range weapons and you want to find a fight as 5 for a gamble, or you have classics, and you want to catch the enemy off guard.
In all of these fights, the stack for TP or showers depends mostly on your composition. For example, Cypher can leave his cam B site for info, so he would be best on B long with a flash Agent such as Skye to peek teleporter with. You could also have an info initiator throw a dart or eye through the TP to get info before the push, so you don’t have to gamble it right when the round begins. For showers, a duelist taking first contact would also work to get that same information with supporting smokes on hand.
2: Attack Default
The attack side on Bind can be one of the most difficult maps because of how small the chokes are, so defaulting is key in getting the edge on the defense. We recommend running either a 3-1-1 default or a 1-1-3 default to spread out and get information on extremities while contesting one of the orbs. Orbs are more important on a map like Bind since there is no midsection of the map, meaning ult execs are essential to win out on your fast hits.
When you go for any of those 3 stacked extremities, have an info initiator present so you can clear out enemy defenders from contesting the area. Comboing this with a flash and duelist, and you should be able to fight any of these sides of the map with good information on who is fighting for orbs. For solo players, sentinels and smokes are up for grabs, and typically the sentinel is holding two lanes simultaneously, which means it’s important to play for safe info.
3: 4-1 Gambles
Something you may see more often in pro play is called a gamble stack. Gamble stacking is when you are putting most of your team on one site with the exception of a single player, while the other player is either lurking solo or anchoring a site alone, depending on your starting side. For Bind, choosing either B or A will work for defense since teleporters are open for use for a fast rotation if your gamble fails.
Sentinels like Cypher or Killjoy are best suited for these types of solo site holds, but be warned; you cannot expect the same results out of Chamber and Sage. These plays are also risky, so only call these if you have a strong anchor on the preferred sentinel role.
Fracture
Unique to all of the other maps in function, Fracture has a sandwich design in which attackers can crunch sites in strong splits or 4-1 execs. Defenders also have a strong crunch for the north or south ends of the map if they choose to take map control.
In the case of Fracture, strats mainly focus on holding specific sections of the map or pushing through entirely for the best retakes possible. According to current data, the map does favor attackers, so keep these strategic tips in mind to give yourself some intuition on both sides.
1: Arcade Control
The reason Arcade at the B site is so important on both sides is because of the potential for deposits, site control, lurks, and information plays. If the defense holds arcade, they have the potential to push underground and north toward the dish for information and plays. This allows an easier retake into A if it’s lost because now they play a reverse card by crunching the site from 3 sides simultaneously.
Try doing this with 3 players similar in roles to our other push examples, duelists and initiators would be preferred. You can also use a smoke for either taking underground space or holding arcade control to farm the orb as well.
For attackers, try pushing with 3-4 early, depending on your goals in that round. If your goal is to take B, then 4 stacking into arcade enables you to split into tower and site as two separate units. If your goal is to setup a lurk or farm the orb, 3 is more than enough to accomplish this.
2: Taking A Main
A main is a powerhouse position for defenders since it allows you access to the attacker’s spawn. The same could be said for attackers since sand control allows for spawn pushes or A splits from A main. If you plan on taking A main, comboing initiator utility with a duelist that can dive can push either side into a bloodbath scenario. We’d recommend splitting from drop instead.
If you can get a Raze, Jett, Neon, or Yoru to dive into A main from drop, you can crunch the defense trying to hold the space. Defense, on the other hand, is usually easier if you keep the door open near sands so you have a better angle to swing with your teammates.
3: Taking Spawn Control
For spawns, either defender spawn or attackers spawn offers great control to cut rotations. This can allow your team a free site depending on the frags that are traded from one another. For attackers, taking the defender’s spawn from sands is great,but did you know that you can crunch from sands and canteen to fight rotators before they can help out on the sites? This is especially good against Brimstone or Breach since they typically will play spawn rotations the most.
For defenders, 5-man gambles into B or A main can be beneficial, especially if attackers prefer hitting sites with 5. In our opinion, stacking B main with 3 players while crunching with 2 in A main is more consistent since it’s less expected, and the space you take allows you to rotate underground safely or leave players deposited for information if they are north side.
Haven
Haven as a map has been in VALORANT since the beta, so some strategic tips have come out over the years that can apply to any agent or team composition that’s in play. In our opinion, faking site hits or splitting sites is the best option for attackers since rotations are so short. For defenders, taking space and holding it to pressure attackers is your best bet, especially around key areas such as C long, mid, and A lobby. Historically, Haven has been the most attacker-sided map in the pool.
1: Fighting A Lobby
For defense, this is the best play possible for information on the attacker’s whereabouts. The reason is that you can hear movement around mid and grass from this area and deny all map control for an A execute, which is arguably the most popular site to hit with 5 men. The crossfires are so powerful that the attackers will have to use utility to clear this area any time they want to go into A.
If they don’t use utility, you can crossfire from multiple angles, like the right side of the ramp short with haystack. If you want to take control, you’ll want some initiator utility like a Sova dart or Breach stun, as well as a smoke deep outside of A lobby, to deny info, all with a duelist who can get out or dish damage to enemies attempting to rush A.
2: Faking for Lurk Timings
On any 3-site map, lurkers can create map pressure with little to no utility traded just by getting information on the opposite side of your team’s stack. For example, you can see Cyphers lurking in front B or garage a lot because they want to pressure defenders to stay and not rotate for site hits. How do fakes end up playing into this?
If you Fake A site for example, while Cypher is lurking garage, instead of him holding defenders, he can take space because of the fake pressure your team’s utility has given on the A site. When you do this properly, only 1 anchor player should be present on C site, which should give your Cypher great timing to climb into somewhere, such as window, or fight him to take C control.
3: Trap Setups
While trap setups are strong on any map, they are especially strong on a map like Haven. With 3 sites, a small area, and a whole lot of utility, Riot made Haven perfect for tight, awkward engagements to happen with said utility.
For defenders, a great setup you can use is based around A short. If you struggled to keep A lobby control, try putting a KJ turret or Cypher cam above the double stacked boxes in A short while your Breach is sitting in A link. Your Breach can stun then you can swing off of the turret or cam for a free kill from top short or close-up with a Judge.
For attackers, you can use the same fake strats from before, but instead of faking and then pushing the opposite side, hold for flankers that are trying to catch you off guard and setup crossfires around them. For example, let’s say you want to end A site, but you know the defenders push past A lobby whenever you go C. In order to bait them into a crossfire setup, you can sacrifice a duelist going into C with a flash, into dart, and then a smoke garage, all while the rest of your team is waiting outside of A lobby holding for the fast flank.
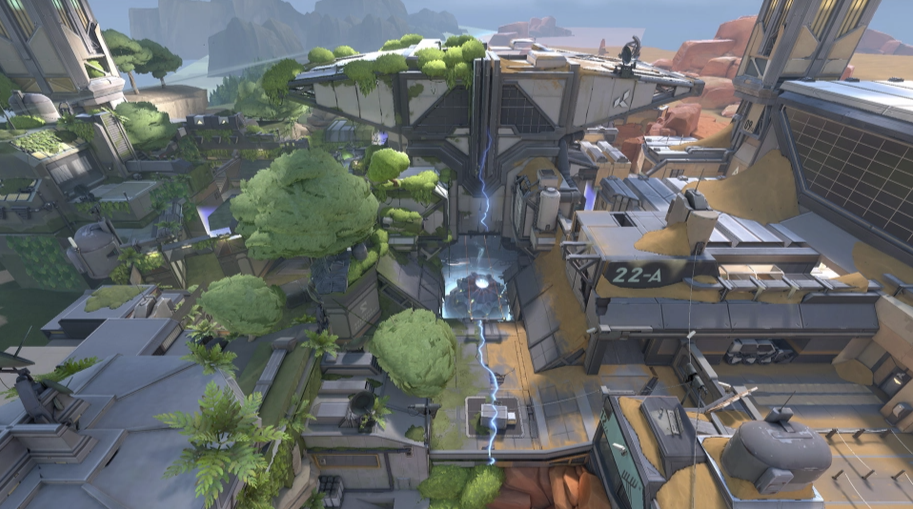
Lotus
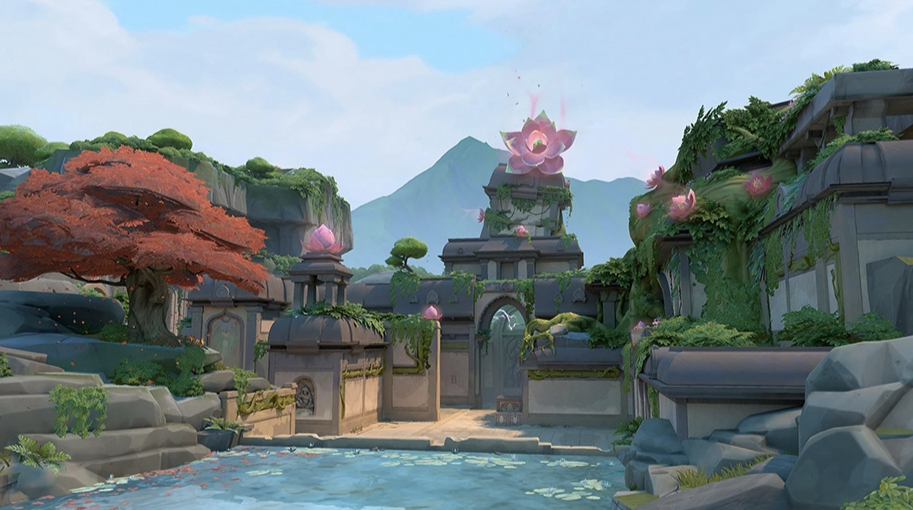
The newest addition to the map pool, players are discovering new ways of playing Lotus more and more as it’s played throughout the year. because it’s the second map with 3 sites to be released since Haven, some similar concepts apply but in a vastly different way because of the sheer size of Lotus compared to Haven. From what we can see, the attacker side favor has extended onto Pearl as well.
1: Fighting A Rubble
Now, we know what you’re thinking; Didn’t Haven just talk about fighting for A lobby? Well, with both maps being focused around 3 sites, certain areas of the map take priority over the others. Since the middle section of Lotus isn’t really designed as a traditional mid, control of this area is arguably weaker since the pathing for C and A site is more defender-sided than attacker, unless you take control of A link from A long.
This is why fighting for A control is crucial in rotations and control for the map since it has the best entryway to split into B or a fast rotation into C based on your lurks. Initially, setting up depositions around A side of the map is ideal since after you break the door for A link, you don’t have to commit to any one side of the areas on the A side of the map. You’ll just have to pressure it enough to make the defense wary, forcing players to stay anchored, spread, and easy to pick off.
A great form of pressure would be to have your dive characters, such as Jett, Raze, or Omen, get over to the other side of rubble. This will be your spearhead position to break the door for A link. We’d also recommend starting with either a 1-4 with your lurkers posted around C or B, or a 1-1-3 so you can have multiple lurk options for rotations and information across the map. Be wary as well when pushing A with a stack since defense will also be fighting heavily for this area of the map to deny your push, so don’t be afraid to wait out the initial utility and hold so you can catch them by surprise.
2: Using the Doors on A & C to Fake
Now that we’ve covered the A side of the map and why controlling it matters, let’s talk about the giant revolving door for Tree. Yes, this is an easy way to funnel your team into a Fade with an Odin, but did you know it’s a great vector for faking A site? This all goes back to that idea of taking A map control, pressuring A link, and then having either a full execute into the 3 sites or deposit for late-round plays.
If your team chooses to go B, opening the doors forces the defenders to make a choice. Do we commit bodies or utility here to keep the space and gather information, or do we give up tree control and play further back into A site, allowing potential splits into A to occur and force us into a fight or flight situation? This is all just off one opening of the doors, so leaving a player to open the door multiple times might give them an even more confusing set of options, or at the very least, stall them from rotating to B or C sit where the rest of your team is waiting to push.
The same can be done for C doors, just with different pathing ideas. C doors are unique in the sense that they are more defender sided since if defenders take control of these doors early from the B site, they have an easy crossfire ready for any C site execution. So if you’re on defense, taking control of B main will allow you to hold down more map space than holding for A doors, but it’s also a quick avenue to get counter-crunched as well. If attackers choose to fake C, they can have an easy crunch from B main and C mount onto any unsuspecting players hiding behind box in main.
This is also an avenue to fake a rotation into B, in turn pulling defense away from the C site hold where you are waiting patiently to exec. The main takeaway is, doors on Fracture are the feature Riot has designed to create interesting decisions from either side to feign or take control of a major area of the map, and you need to use them wisely.
3: B Site Splits into C Site
We’ve talked about the idea behind a B split from A, but how do attackers exploit the most defender-sided site on the map? In our opinion, exploiting C link is your best option to throw off the defense. The reason is because of the tendency to stack toward the A side of the map, most teams on either side will put a lot of bodies to hold these areas while sentinels, smokes, or ops are anchoring sites like C or B.
B side is often very strong for KJ defenders since she can split her utility into C or hold all of B site with a full setup to counter A splits into B or fast rushes into the site. How do you stop this? By pressuring into C link, you can not only catch a potential KJ playing passively around her utility, you can also catch a potential rotator or defender spawn control entirely to split into the C site.
A great format for this would be taking C long control with 4 players while the other player lurks B. This would set up what looks like a normal exec onto C, but 3 of those 3 long players will be opening the door for B and crunching the B players with the B main lurker. Now these 4 players will be pushing B and straight into C link.
Granted, this strat only works if you have some sort of fast-hitting duelist with a flash following behind them, so don’t try this with comps with no movement abilities or flashes to spare. Otherwise, you may be walking into more than you can chew.
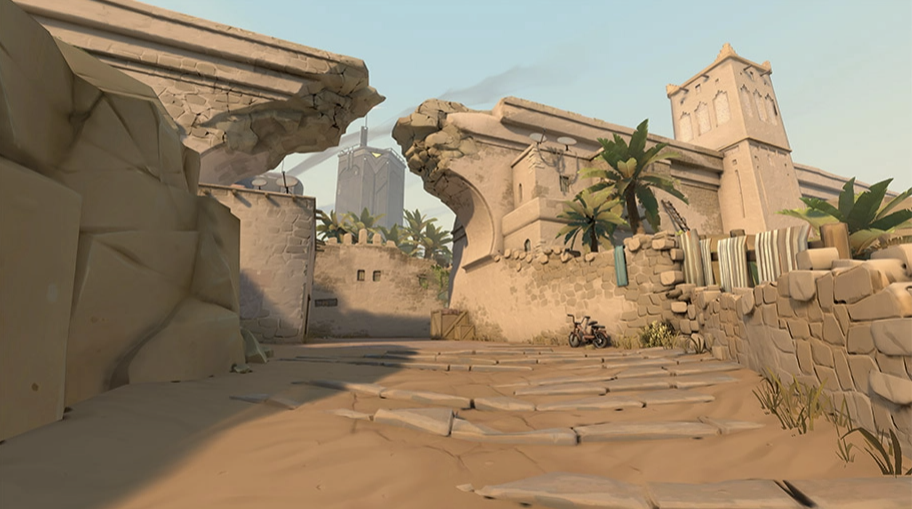
Pearl

Pearl has already cemented itself as a must-know map in the current state of VALORANT, showcasing that basic strategy leads to overwhelming strong attack halves more often than not, so you can simply not afford to ignore these strategic tips.
This attack-sided nature of Pearl is largely attributed to the verticality advantage that attackers have over defense across the map. You know the drill; once you secure the high ground, it’s all over, even if you underestimated your enemy’s power.
1: The B Link Connector Rush
While rifle rounds may come easy on a map like Pearl, the real issue comes when attackers are put into a situation where they’re at a weapons disadvantage, such as on bonus rounds or ecos. In these situations, taking control of close areas like A main or art may seem like the right play at first glance, but did you know with a well-placed smoke deep into the choke between the middle area of B link, you can stop any ops or rifles from contesting you with a clear line of site, enabling you to move fast into the connector area to take the closest range fight possible?
This also gives you access to art or sewers, with both areas being key to defense in rotations around the map. Arguably, this area is just as important on buy rounds, but how you contest it is slightly different. Stacking this area on buy rounds may seem like the way to go, but it can turn into a funnel for the enemy player to win their own ecos, so check the economy on both sides before deciding to try a play like this. This will be best done with all 5 players since you should be on a low buy to go for this sort of gamble.
2: Executing B Long
This type of exec is the one you will see the most on the attack side, because it’s very easy to overwhelm the defense unless they put 5 players into B site. Now, we know you may be asking; I keep dying to defensive Jetts or Chambers when they are oping B long. How come this is the case? Most of the time, it’s because you or your team aren’t coordinating utility to force defense properly out of long.
For example, using smoke to cross onto the top of ramp to take multiple angles is good, but comboing this with a flash, dart, or knife into site will force the defensive oper to either play passive to avoid this utility or take blind shots where they are easily exposed.
This is usually done with 4 players, with 1 playing lurking in case things go haywire or a rotator is exposed while trying to flank or contest mid. The pace is key when going for a B long exec, so breaking any defending utility or flashing through defensive smokes is key in order to take space. Never peek anything without utility, or you will be punished. Backhall control is a key part of the post plant, since having a player in the backhall area near the long plant can create challenging crossfires or nuisances for defenders attempting to retake the site.
3: Defaulting Art Control
Now for defense, many of your options to hold passive are usually centered around the site anchors and heavily link or art control. Taking control is one thing, but defaulting into mid through art is a sound way to get some early information and control of attackers trying to challenge mid-lanes. For example, having 3 players pushing art on defense is better with a duelist taking first contact with an op, then baiting them into the two support teammates in art, ready to fight.
It’s also nice to smoke one of the common attacker’s peeks like top mid or shop to allow your oper and 2 supports the space needed to push further and further into mid.
You can also set up trap plays around the box in art, but be warned, these are usually highly predictable, so a great way to change expectations is having two players sit behind the box in art for an unexpected surprise. When doing this, one of the players should peek based on audio or utility in front of the entryway, while the other stays behind the box. This is a bait setup for attackers not to clear the box after the first player in the setup has peeked, allowing for some cheeking kills to occur in areas they first assumed were clear.
Split

Split is on of the few defense-sided maps everyone knows, but the new changes around the close areas in A main, heaven, and hell on B site have allowed attackers some room to breathe. We hope you aren’t claustrophobic around this map, since so many chokes are small enough for one Raze nade to stop an entire push or retake. If you haven’t noticed, map control and baiting utility is key on Split.
1: Ramp to B Rush
Speaking of map control, taking A space may seem like a chore in the early game, but a great way the map has changed is having ramp control be more accessible for attackers. For example, pistol, bonus, and eco rounds are a great way to exploit the new angles and space you can take in A ramp to force defenders back.
We would recommend smoking the rafter to the box area closer to the defense spawn in A ramp to go into a fast rush ropes to B. This feels almost like a train on course from A main, to ramp, to ropes, to mail, and finally to B site when executing the play. This pathing will throw defenders for a loop since when you’re making the noise from ramp, plenty of B rotators will be caught off guard when you fight them first inside ropes instead of the A players who may be rafters in this play. This strat will favor up-close weapons, so keep that in mind and let the pain train commence.
2: 1-3-1 Default
This is the most standard setup for Split play, since mid-control provides you access to both sites; however, how you take mid-control matters in this default since the goal for your mid-control may differ based on what side you’re on. For example, defenders putting 3 mid may be around utility dumping mail to prevent a rush or keeping ropes control to spot an A split, while attackers want to focus on baiting this utility and bleeding the defense slowly of any stall utility.
Essentially, it turns into a utility trading zone back and forth if both teams are fighting for this space as a 3v3. A great counter for attackers to fight a common occurrence like Sage walling mid would be to have your own Sage to counter wall over in a contact play to the defender wall.
This should catch your opponents off guard when you have 3 players boosting onto a wall, fighting ropes, or mail to split into either site, forcing site anchors to choose between holding site or rotating to help the surprise attack in mid.
For defense, fighting deep into mid might be a better play than just putting someone into ropes or mail to hold the aggro attackers with an op. They say the best defense is a good offense, so try to get your Raze and Sage setup with flashes into market and fight deep, especially if something like a Raze rocket is available for an early pick.
3: Taking B Main Control on Defense
Something you’ll see a lot in VCT is this taking of space in B main on defense, but the reason why is this space is inherently defender sided when played correctly. Look at it this way; Riot designs right corner points in areas like B main and mail for defense to more easily hold, while areas like A main and A ramp have become easier for attackers since the opening up of these spaces.
Having a Sage wall, an Omen smoke, or a Breach stun on the entryway of B main for attackers can set you up to farm retake ultimates for A with the potential to flank fast into an A hit. This also may catch a lurker or B exec dead in its tracks, allowing your team an early first-blood advantage.
Be wary, however, since taking the space is better done with the multiple pieces of utility and players; solo fighting B main is extremely risky on defense, even with an operator. This is a result of attackers actually having the ability to hold the angle for the swing from the spawn barrier and, worst still, spamming the peek before it happens with medium pen rifles.
This is why it’s important to have your Breath stun the angle so an Omen smoke can be put at the barrier peek, giving you the advantage to take the space, which, again, means you ned multiple people to push B main for the maximum effectiveness.
We hope that these strategic tips help make a big difference for you, but if you know of staples that we’ve missed, be sure to share them!