1 Outstanding Tip For Every VALORANT Ultimate
In VALORANT, how you make use of your agent’s abilities can be a crucial aspect of your game, and their ultimates are the most important abilities available. If you’re misusing your ults, you could potentially be throwing around a round-deciding opportunity. Alternatively, if you know the best way to make use of your ult, you could turn the most dire situation in your favor. In this guide, we’ll look at each agent’s ultimate and break down how you can make better use of every single one.
The Controllers

Brimstone’s Orbital Strike
Brim’s ultimate is a strong beam that he directs, which descends from the sky and covers an area that ranges 18 meters across. It’s best to think of this as an overpowered molly, as it does damage over time but enemies are able to avoid it unless they’re stuck or stunned. One great way to use Brim’s ult is to trap the opponent’s ultimates, as Killjoy may be reluctant to drop an ult if they know it will immediately be broken. Similarly, a Sage won’t want to resurrect a teammate if she knows it will be wasted when they are killed again on the spot. While some may suggest that you rush to use the ult offensively as quickly as possible, there will be cases where it’s beneficial to hold and use it as a deterrent instead.
Viper’s Pit
This ultimate covers a large area in toxic gas that adds a decay effect to the enemies, which chips away at their health until it reaches 1. It can be used to effectively shut down entire sections of the map by creating a hazard in an area that an enemy may have attempted to gain space or explore. One major downside of Viper’s ult is the fact that it limits the visual range for you and your teammates while you’re in it. As a counter, Vipers are able to look down at the ground to increase their visual range slightly. This gives them the edge that they’ll need to see other players first and get the drop on them. This is one of the rare scenarios in which we will be suggesting you have poor crosshair placement to have the advantage.
Omen’s From the Shadows
From the Shadows is an ability that allows Omen to teleport himself to any location on the map. In general, it’s considered to be one of the less useful ults given the volume of the teleport, as it quickly alerts the players around Omen. There is, however an instance where it really holds its own. Omen is able to ult onto the spike if it’s been dropped and pick it up without fully committing to the ult, meaning he can retrieve the spike and cancel the ultimate from anywhere on the map. This can be excellent for tricky situations where the spike has been dropped behind enemy lines or out in the open. Simply head to the other bombsite as the opponent has likely diverted attention to covering the spike, ult onto the bomb, cancel it and you’re ready to plant.
Astra’s Cosmic Divide
Astra’s ult creates a massive wall that blocks bullets and muffles noises, though abilities are still able to pass through it. The best use case for Cosmic Divide is to use it as you attempt to retake a site. People tend to think of it as a means to stop enemies from pushing into a site, and sure, that works, but it’ll just mean that they turn around and rotate to the other site. When you use it as a retake tool, the attackers won’t be able to hear the bomb being tapped over the rest of the chaos and they’ll also have trouble trying to shoot the defuse. As long as your team is holding for the enemies rushing through, it should work as a free defuse.
Harbor’s Reckoning
The Reckoning covers a huge area that slowly stuns enemies over time. Our tip for Harbor’s ult is not to rely on the stuns, but to use it for information instead. There’s an indicator above where the stuns land so you’ll always gather information on the location of the enemies. Just remember that they’ll be forced out of their cover and prepare for whatever fight you’ve just set up.
The Duelists
Phoenix’s Run It Back
This one is a powerful ultimate, as it essentially acts as an extra life for the Phoenix player. Phoenix pops his ultimate and places down a respawn anchor, then he’s free to fight enemies as he pleases for 10 seconds, after which he returns to the location he placed the ult. Even if the Phoenix is killed, he will return with full HP and the same amount of shields that he had when the ult was cast. Our tip for Run It Back is to use it as frequently as possible. The ult only costs 6 orbs, which is tied for the lowest ult cost with Cypher and Reyna. This means that you can use it frequently for risk-free entries onto sites to clear sites and take space. Make sure you are farming the ult orbs to maximize the number of times that you can use it.
Jett’s Blade Storm
Blade Storm is an ult that has an immensely high skill ceiling. Jett gets 5 knives that are perfectly accurate regardless of your movement and can one-tap enemies at any range. A great use of Blade Storm is to combine it with Jett’s glide ability, using the movement to be extra lethal. This isn’t just limited to updraft either, as jumping and holding glide while you’re mid-fight can throw off an opponent’s crosshair placement, potentially earning you an edge in that battle. This is a tip source from Seoldam, the Korean Jett himself, so give this one a try.
Reyna’s Empress
Based on current statistics, Reyna is the most-played agent in ranked matches. Still, many players are misusing her ultimate Empress. This ability grants Reyna a stim effect, where all of her actions are sped up with the exception of movement. After each kill, health is restored to full and when she dismisses with her orbs she goes completely invisible, leaving only a sound queue to identify her location. One lesson we’ve learned with her ult is to use the orbs sparingly. It can be tempting to dismiss orbs so you can reposition after every kill, and there will be times when that makes sense to avoid becoming a trade kill. However, it pays to remember that even if you’re safe from the enemies while dismissed, they are also safe from you as well and they can use that time frame to close the distance or reposition around you. Going forward, try to only dismiss when it is absolutely needed.
Raze’s Showstopper
Raze’s ultimate the Showstopper features a huge rocket launcher that deals AoE damage, which is capped at 150 for those that are closest to the point of impact. When it’s combined with her satchels for movement, it’s an incredibly powerful ultimate for clearing out corners and stacking up free kills, especially during retakes. The trouble is that the ability has a long animation as Raze equips the rocket launcher, but there is a solution to this problem. Throwing a satchel immediately after deploying Showstopper cancels the animation and causes the rocket launcher to appear much faster. It’s best used in a double satchel combination, where you throw the first satchel, pop the ult and then immediately throw the second satchel. Work out the combo and you’ll be ready to blow up every unfortunate opponent in your way.
Yoru’s Dimensional Drift
Yoru’s ultimate renders him invisible, giving him a speed boost to travel around the map at will for 12 seconds. While you’re in the state, you can use utility and pick up or drop weapons. Keeping that in mind, we suggest that while you’re using Dimensional Drift, you use your flash and clone ability before emerging from it. This way, enemies who hear the audio queue can easily confuse the clone for you and turn their attention towards it, leaving them open for you to reposition and snatch up a free frag.
Neon’s Overdrive
Overdrive allows Neon to shoot lightning accurately from her fingertips while running around at high speed. The constant quick movements make Neon difficult to hit while she’s dumping out the damage with her ult, but there is a way to make her movement much better. Neon’s rechargeable ability called high gear is a slide that she can use to quickly peek angles and throw off the aim of her opponents. By using her ultimate, high gear immediately recharges, which provides her with another one that she can use without delay. This means that by sliding and immediately ulting, you’re able to slide again which effectively doubles the high gear ability, making Neon extremely difficult to track for even the higher-skilled aimers. Give it a try and watch as enemies mag dump without landing a shot.
The Initiators
Sova’s Hunter’s Fury
Sova’s ultimate ability allows him to shoot three large beams which pierce through walls and deal 80 damage a piece to any target they hit. It pairs well with his dart and drone as he can direct his ultimate at revealed enemies to take them out from a distance and secure a free kill. For the opponents, it presents a dodging game where they have to move back and forth to avoid each beam. With your knife out this can be pretty easy, but it’s much more difficult if you have enemies bearing down on you. For this tip, fire your Hunter’s Fury in tandem with your team’s execute on a site, as it will give the revealed opponent two options, die to your ult or die to your teammates.
Breach’s Rolling Thunder
Rolling Thunder can stun any player that is caught in it, which makes clearing entire sites effective as it reduces the opposing team’s ability to defend themselves. Our advice for Breach’s ult is to ensure that you get the maximum value out of it by covering areas that enemies would be set up in, instead of areas that you want to push. For example, on Fracture’s A Site, a normal flash and stun combination can effectively clear most of the site without needing to use his ult. Instead, try using his ult on those players who are off-site, the players that are closer below drop, sands, or CT spawn. That way, you can catch the players trying to crossfire the site instead of the players in the site who will be easier to clear through other means.
Skye’s Seekers
These indistinct green creatures will automatically lock onto the three nearest enemies and travel toward them. If they reach the targets, they cause a nearsight and slow effect, leaving the opponent vulnerable. Most of the time opponents will successfully break the seekers, making their effect unreliable. We’ve found that the best time to use Skye’s ult is for information in mid or late-round situations as you’re looking to decide where to go. After you identify the location of the three nearest members of the other team, you can make a decision on where can move with the least amount of resistance. While early-round Seekers aren’t exactly useless, the ult still holds greater value when used later on.
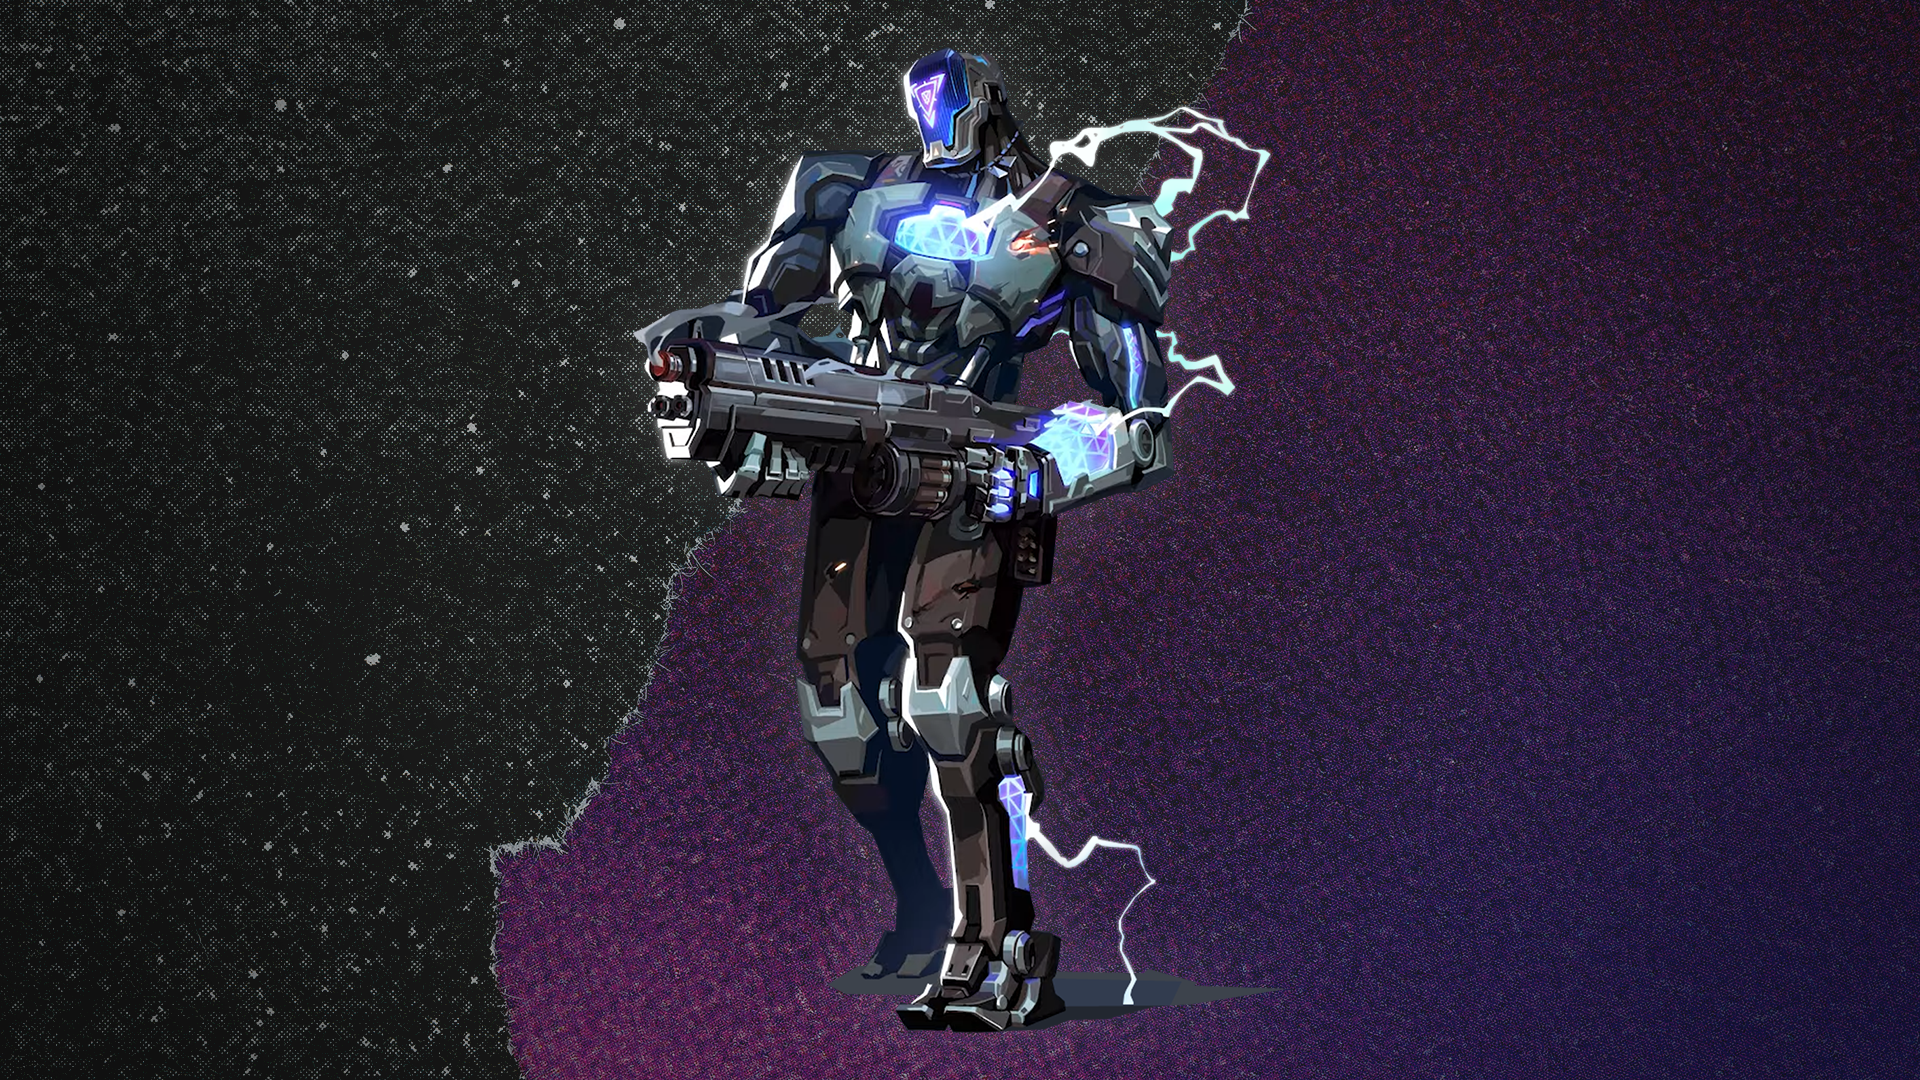
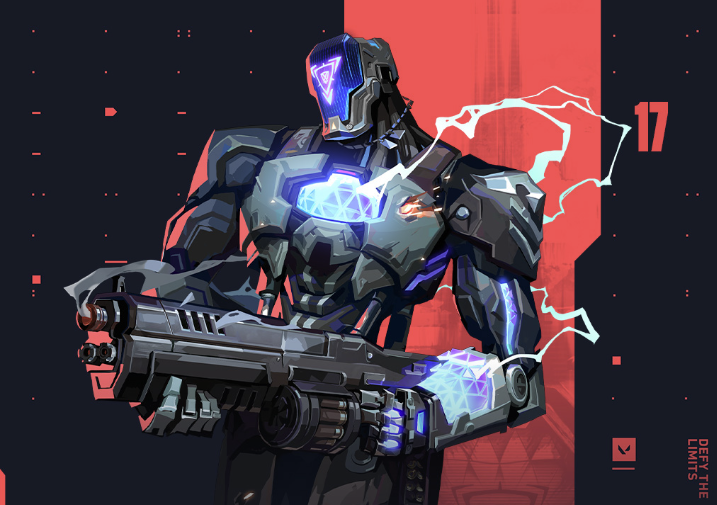
KAY/O’s NULL/cmd
KAY/O’s ultimate sends out pulses across a wide radius every three seconds, and any enemies that are caught in it have their abilities suppressed. A good way we’ve found to use NULL/cmd is to take advantage of the fact that when he’s killed while using it, he doesn’t die but merely gets knocked. That, paired with the fact that he has great flashes for entries, makes him a great candidate for the first player in on the site. If he does go down, his NULL/cmd pulses continue to radiate outward, suppressing enemies while he can still see his surroundings which makes him perfect for information gathering as well. If you’re using KAY/O’s ult, be sure to lead the way for your team.
Fade’s Nightfall
Nightfall creates a trail that leads to the enemy as well as decaying their health and deafening the player. A good tip is to remember that last part in particular, if you are ulting, the enemies cannot hear you coming, so you can just hold W and charge in. Take free reign to maximize your movement and run your enemies down with Nightfall. The same goes for Omen, Raze, and Jett players, as opposing players will not be able to hear their sound queues once Fade has ulted.
The Sentinels
Killjoy’s Lockdown
Killjoy’s ultimate covers a circular area 65 meters across, and after 13 seconds, it detains anyone still in that radius. It’s an excellent ability for clearing out sites and taking control of places on the map with little risk to your team. Our tip is to check the ultimates that the rival team has to be sure that they will not have any hard counters to your Lockdown. Sova, Brimstone, and even another Killjoy can all counter your Lockdown, making it useless by either destroying it or dropping their own Lockdown cage over the top of it.
Cypher’s Neural Theft
This ultimate ability provides perfect information on enemies’ locations twice after a brief wind-up period, with a game between the two scans. The best advice we can offer for Neural Theft is to be extremely careful immediately after using it. Any enemies that are nearby will be eager to swing before the reveal pops so be extra alert and do not let your guard down as you wait for it. If you’re using Cypher’s ult, be ready to fight because trouble is coming.
Sage’s Ressurection
Sage’s ultimate ability is probably one of the most well-known and strongest ults in the game. She is able to revive a teammate who has been killed, bringing them back up to their feet after a short animation that raises them up from the ground. Our advice for Ressurection is to not be afraid to use it as a tool to bait an opponent into peeking you. Your opponents will likely want to peek to try to kill you and the player getting revived as quickly as possible, but they will need to reveal themselves to do so. Take that opportunity to punish them while you can. Sure, your teammate might die in the process, but you’ll be in a better position than you were in before you ulted. In the immortal words of Lord Farquad: “Some of you may die, but that’s a price I am willing to pay.”
Chamber’s Tour De Force
The Tour De Force is an ult that provides Chamber with a golden operator with a total of 5 bullets. That’s it, it is that straightforward. Our best advice is to use it as soon as you have it available. If you’re in an eco round, you’ll have a weapon that has the potential to turn the round in your favor, and in normal rounds, it’s a free operator! By using this ult as quickly as possible, you can help to build up your team’s economy while also increasing the rate at which you have an operator in your hands.