Learn These Epic Movement Mechanics In Apex Legends
If you have tried learning the finer points of any competitive shooter – and Apex Legends is no exception – you have probably learned that there is one major gameplay aspect that separates players from the average to the advanced; movement.
Movement can indicate how advanced or experienced a player is in a numbers of ways, one is their ability to navigate the map and maximize their movement to be as efficient as possible, the other is the various tricks that they have learned to move outside of the confines of the level design. These advanced tricks can provide you with a variety of advantages, some may simply cover more ground faster, others may allow you to bypass routes with gravity defying shortcuts, and the rest simply provide you with an edge over your opponent in an engagement.
In this guide, we’re going to break down the advanced movement techniques, starting from the most simple and easy to learn mechanics and moving up to the most difficult and advanced. Let’s jump into it.
The Basics
This one won’t exactly blow your mind in terms of complexity, but this is a critical mechanic that factors into some of the more advanced movement techniques further down the list. That being said, if you are a beginner just breaking your way into Apex Legends, you will still need to learn about the slide jump.
Slide Jump
The tutorial for this move is more or less right there in the name. You simply press your crouch key (control by default) and then jump, and as you jump, you release the crouch key. You will be able to chain these movements together to build up momentum, which can be especially helpful as you’re being shot at. We are going to be drilling this a lot in this guide but remember, the more unpredictable you are with your movement, the more difficult you are to hit.
Reverse and Edge Sliding
While the reverse and edge sliding techniques aren’t going to rank on the Faide level for insane movement tech, they are still techniques that are useful and quite frankly, underused by a lot of Apex Legends players. The key here again is to be unpredictable, so don’t count out the more simple movement techniques as they can all be added to your movement toolkit and pulled out on a whim.
Reverse Sliding
One of the major benefits of the reverse slide is that you are using it while facing your enemy, so while you can back off or retreat from them, once you are back up on your feet you can re-engage or dish out some damage as you continue to back off. Trust us when we say that this is a far better alternative to simply soaking up shots in your backside as you run away.
To reverse slide, you will need to jump and move backwards at the same time, but just before you land, hit your crouch button. This will automatically put you into the reverse slide. Try using this to disengage while still pushing out some damage to your opponents, or simply try sliding into cover or inside of a building at the same time.
Edge Sliding
Edge sliding is more about moving as fast as possible. You can use this to avoid taking damage, speeding up as you are outrunning the zone moving in behind you or simply evading your enemies.
In Apex Legends, if you are sliding into the edge of an object, you get a speed boost. This will also factor into making you more difficult to shoot or track as your movement is usually much less predictable.
The Intermediates
Next, we will get a bit more advanced with the wall bounce. Chances are, you have already watched a player utilize the wall bounce at some point or another. Now, we do want to note, this technique will require a bit of customization with your keybinds, something that will actually benefit some of the other movement techniques as well.
Wall Bounce
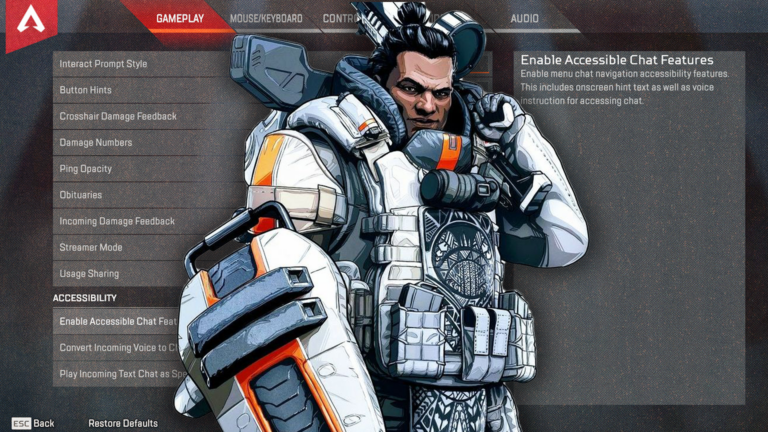
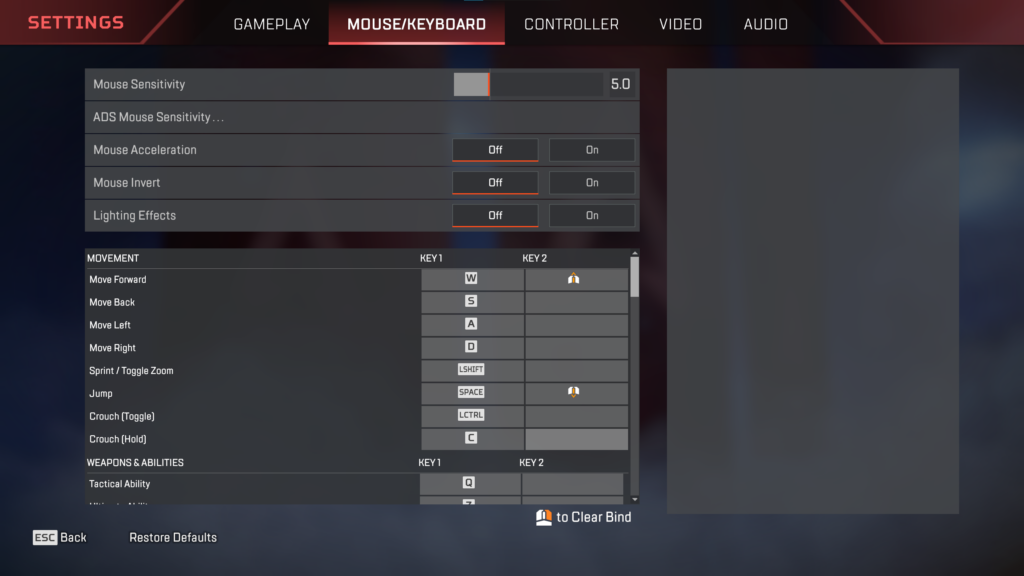
First, you’re going to need to go into your Settings, then the Mouse/Keyboard settings, where you will add the scroll wheel up as an alternative key to move forward and scroll wheel down as an alternate key for jump. This is going to be useful and easier to utilize as you can scroll the wheel down for continuous jumping. After making these two changes, you’ll be good to go for the rest of the movement techniques.
Moving back to the actual wall bounce technique, you’re going to approach a wall at a 45 degree angle and then slide jump (remember that?) into the wall, but as you’re approaching the wall you will move your mouse so that you are perpendicular with the wall, finally you will jump.
When done correctly, you will ricochet, or bounce off of the wall. You will know if you have successfully wall bounced as you will simply faceplant into the wall if you’re unsuccessful.
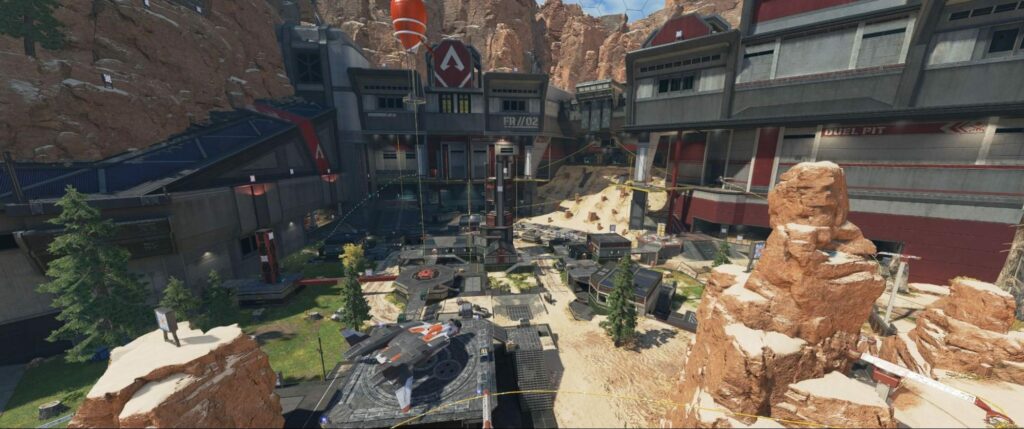
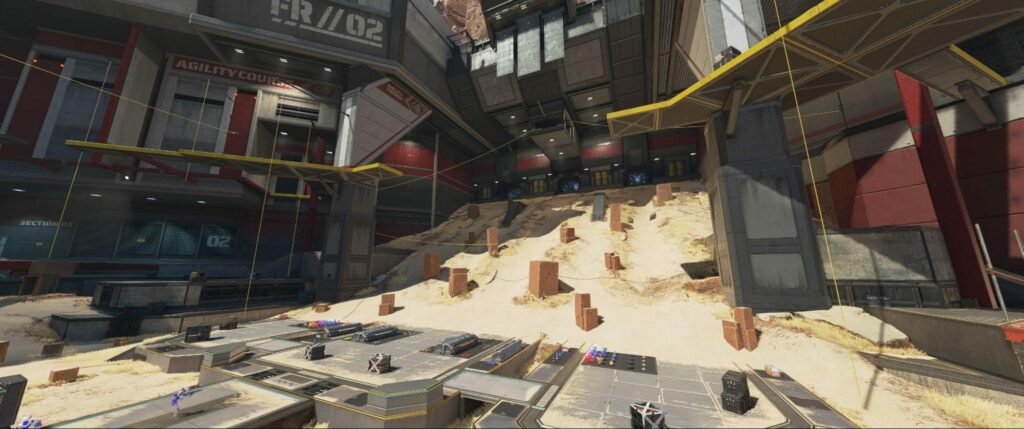
Since practice is going to be critical with this method, we would suggest loading up the Firing Range and practicing with a few of the surfaces there.
Once you have a grasp over the wall bounce, you will be able to leap over Wattson’s fences, jump up to heights that would not be possible to vault and drive your opponents crazy in battle.
The wall bounce, much like the other movement techniques, can be used in combination with the other techniques you’ll learn from this guide.
Bunnyhop
Yet another simple technique that provides you with more tools to move around as unpredictably as possible, the bunnyhop. You will likely be familiar with the term from, well, most games, and you may even understand the overall concept.
First, you will slide jump, then let go of all of your movement keys while continuing to hold crouch. Then, as soon as you touch the ground, you will jump again. This may seem tricky at first but similar to all advanced movement techniques, practice makes perfect, so get out there and get some reps in.
Timing is critical here, and once you have the rhythm of the timing down, you can begin mixing in other movements, such as side to side movements that, combined with the crouched position of the bunnyhop, will make yourself an extremely difficult target to get a bead on.
To bunnyhop side to side, you will start with the left movement key to move left, then as you bunnyhop, use your mouse to do a slow, sweeping left turn. After three hops, press your right movement key and use your mouse to make a slow, sweeping right turn. If you can maintain the timing, you can continue this zigzagging motion indefinitely, much to the chagrin of your enemies.
The Advanced Techniques

Now that you have learned the basics and then moved onto the intermediate techniques, you can begin piecing it all together to take your movement to the next level. The following techniques may take some time to master, but focus on the core mechanics that you are learning and gradually, you will begin to feel it all click.
Tap Strafe
Arguably the most iconic movement ability in Apex Legends, tap strafing has become a staple for mouse and keyboard players, while also having countless implementations. At one point Respawn had even attempted to remove it from the game before learning that their efforts would break Apex Legends entirely. Knowing that, lets walk you through learning how to do it!
You will start by running in a direction and then slide jumping while holding down either A or D, depending on the direction you are planning to tap strafe. At the peak of your jump, flick the scroll wheel while still holding the directional key, and then make sure that you release the W key while you are in the air.
Next, move the mouse in the intended direction while continuing to scroll the mouse wheel, as it will allow you to rotate up to 180 degrees instantly.
Tap strafing makes you move very abruptly, and you can make extremely sharp turns around corners. You can use this to mitigate the damage you are taking while also confusing your opponents, outplaying and out styling them throughout your battles.
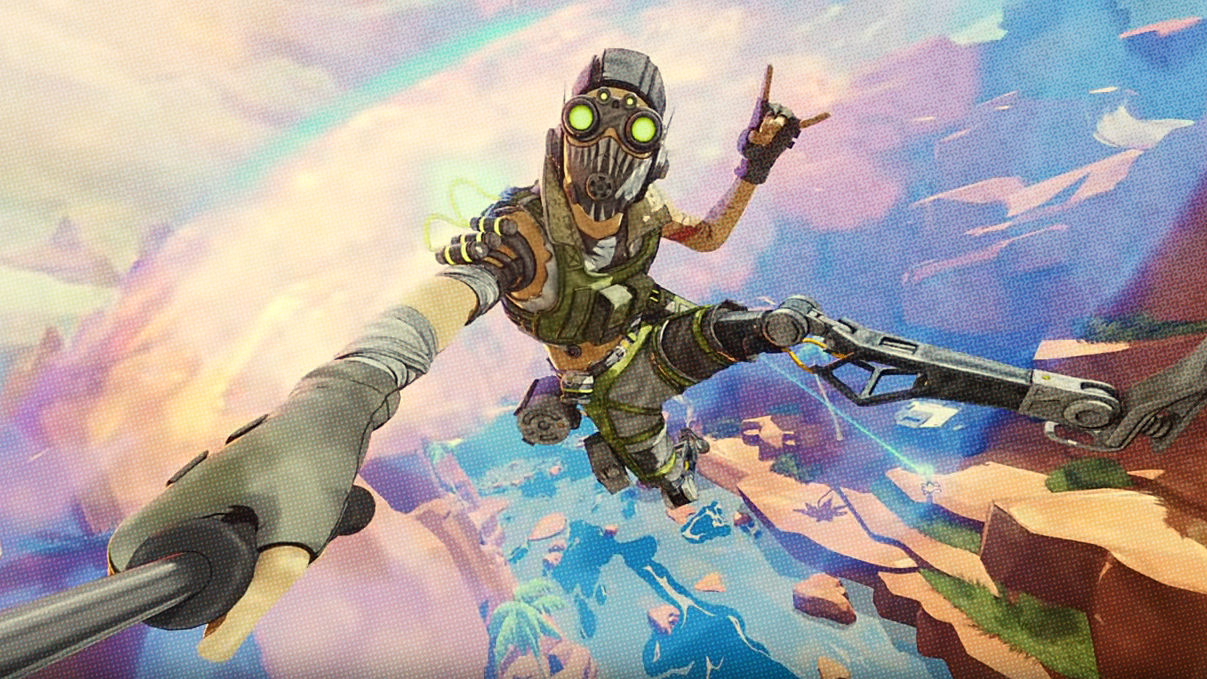
Certain legends can make special use of this method, such as Octane for example. You can tap strafe while in mid air from Octane’s pad, allowing you to use the pad to perform some advanced movements, like a 180 turn to launch up to a higher level or platform that you wouldn’t even consider possible.
Horizon’s gravity defying passive ability allows allows her to make great use of the technique, moving smoothly through the air when you have the opportunity.
Lurch Strafe
Gradually becoming one of the most discussed techniques in Apex Legends movement is the lurch strafe. There are a few different ways to perform this movement ability, so we’ll look at a couple of options.
First, the Ras strafe. You will press A and jump, hit W and then D as you tap strafe as well as S at the same exact time.
Next, the Yuki strafe, which consists of hitting W and A and then jump, then S and A as you tap strafe.
These are going to be easier to attempt in practice than to visualize here from the text. It may sound confusing and slow in explanation, but when you’re actually attempting it, the inputs will be very fast. Having a very solid grasp of tap strafing will be required before you can fully dive into the lurch strafe technique.
Super Glide
Last on our list is probably the most difficult and advanced technique in Apex Legends, the super glide, which gives you an extreme speed boost.
This one is going to be very difficult to learn and especially master, as it requires perfect timing. Even pro-level Apex players will not hit every super glide. The new Wooting keyboard, which has been designed for movement in FPS games, has become very popular primarily because it makes techniques like super gliding much easier.
To get started, as you are climbing a wall, you hit crouch and jump at roughly the same time, while you hold a movement direction which will essentially launch you into the desired direction. The timing is going to be very hard, as you have to hit jump and crouch and ALMOST the exact same time, but just about one single frame apart. Binding both actions to the same key is not going to work, but if you use C for crouch, pressing both C and space bar at the same time is a more effective method to get the timing correct.
Remember, this technique is very advanced and you are NOT going to hit every super glide that you attempt. It’s more of a flex than it is a practically useful technique, because relying on this entirely in your matches can be very risky. Warning aside, just imagine how epic it will look when you pull it off mid-match!