10 Powerful VALORANT Abilities You’re Probably Using The Wrong Way
Using VALORANT abilities can be tricky, as it’s up to you to learn through observation, trial, and error. As such, you may have developed some habits with your abilities that are limiting their overall impact. In today’s guide, we’ll explore the ten most commonly misused abilities with tips on ensuring you’re maximizing your opportunities.
Dizzy
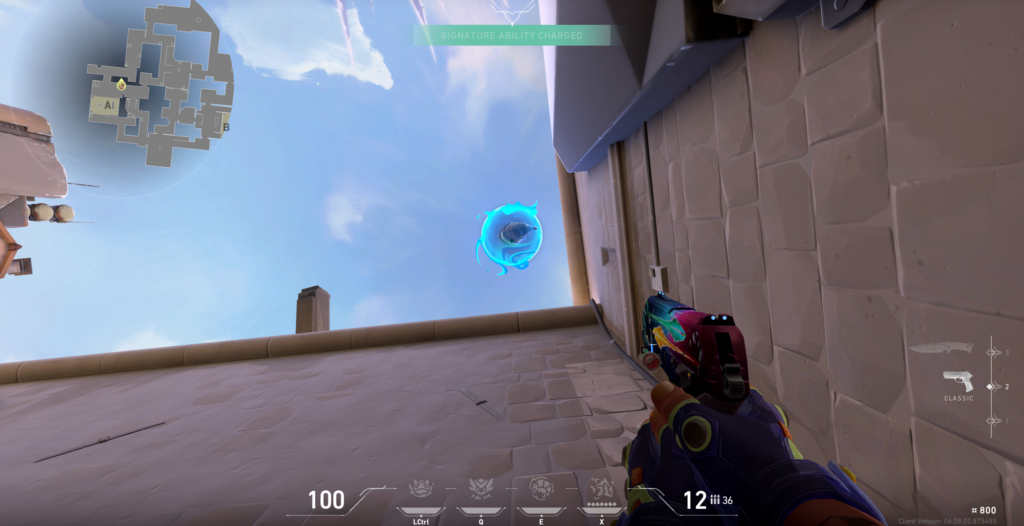
It’s no secret that Gekko’s Dizzy ability is best used to gather information and blind your opponents. However, we tend to notice that many Gekko players are throwing Dizzy high and far in an attempt to try to collect more information. Gekko’s abilities are so strong that you can pick them up and re-use them in 10 seconds, meaning they’ll be up and ready multiple times in a round.
That means throwing them at enemies into areas where you can’t pick them back up is a massive waste of their full potential. A more efficient use is to throw her straight upwards in areas where she can still the enemies.
For example, on Ascent, while standing next to the A site switch on defense, throwing her straight upward will provide information on A main, and the same concept applies to B Link on Pearl. Simply throw Dizzy straight up in the air, and you can blind enemies moving through B Main before picking Dizzy back up immediately afterward.
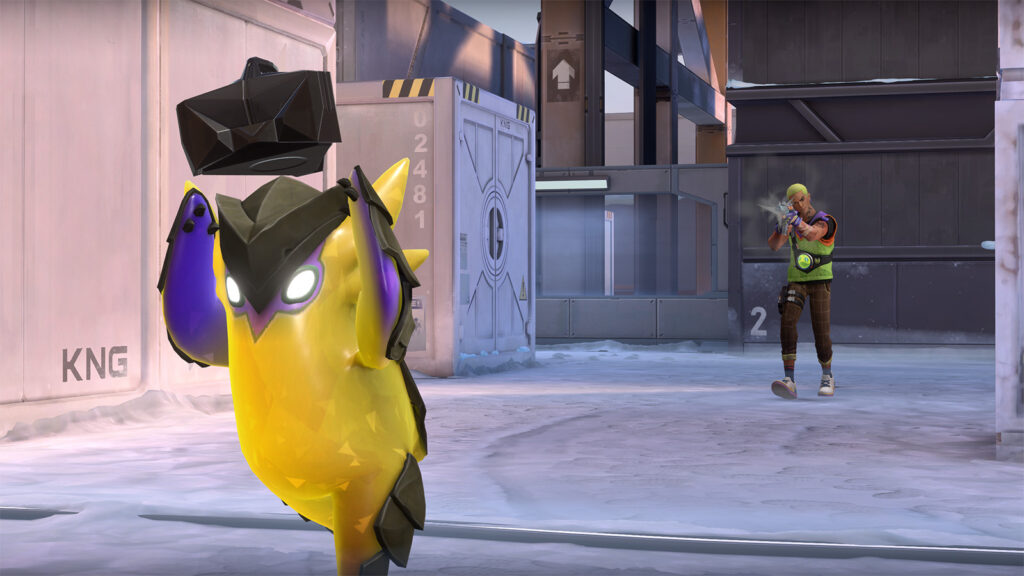
Owl Drone
One of the critical tasks for a Sova drone is to clear tight corners to prevent your team from getting ambushed by a shotgun up close. We’ve noticed players will do an odd 360 maneuver with the drone when clearing these 50/50 angles, which is relatively inefficient and could result in your drone being avoided due to the blind spots.
There is a better way for you to check both corners simultaneously without slowing down the drone. When entering areas with close corners, look downwards with the drone and fly up to the maximum height. This will give you a broader view of the sides, allowing you to clear the corners without having to turn the camera at all.
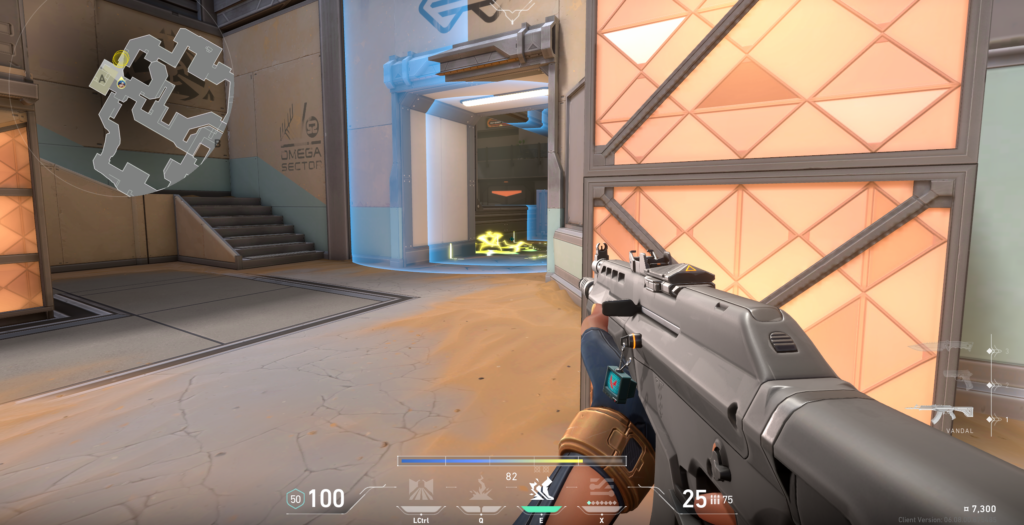
Killjoy Turret
Killjoy’s turret can be beneficial as it is entirely free, with the capability of gathering information on anyone within its line of sight. Far too often though, we see players holding more advanced angles than the turret can cover. Positioning yourself ahead of the turret means you’ll take contact and expose the enemy’s presence well before your turret can, rendering its placement useless.
A better use of the turret is to take cover and peek off of the turret’s contact, and if you are intent on pushing and taking more space, recall your turret so that you’ll have it ready sooner.
As a general rule of thumb, you should avoid playing in front of your sentinel’s utility since, at that point, there is not much use for it. There will be exceptions of course, as now and then, you can use the passive sounds of the turret to bait your opponent’s attention, and few expect an aggressive Killjoy. However, that sort of aggressive play comes with its own risk versus reward criteria.
Paint Shells
Raze’s grenades are some of the most straightforward and devastating utility options in VALORANT. However, most players still aren’t getting the maximum value out of them and tend to chuck them in the general direction of enemies whenever they see them.
Using Raze’s grenades to punish enemies who put themselves in tough situations would be best. The Paint Shells are most effective when thrown at enemies trapped in an enclosed space, which is precisely why Raze is so powerful on tighter close-range maps such as Split. Areas like Mailroom on B Heaven and the walkout from B Main after the attacking team has walled the cross are perfect for catching groups of enemies clustered together for some easy frags.
Even if the Paint Shells fail to finish off opponents, you could find yourself dishing out upwards of 300 damage with a single bit of free utility. So in the future, make sure to use Raze’s grenades where they count the most.
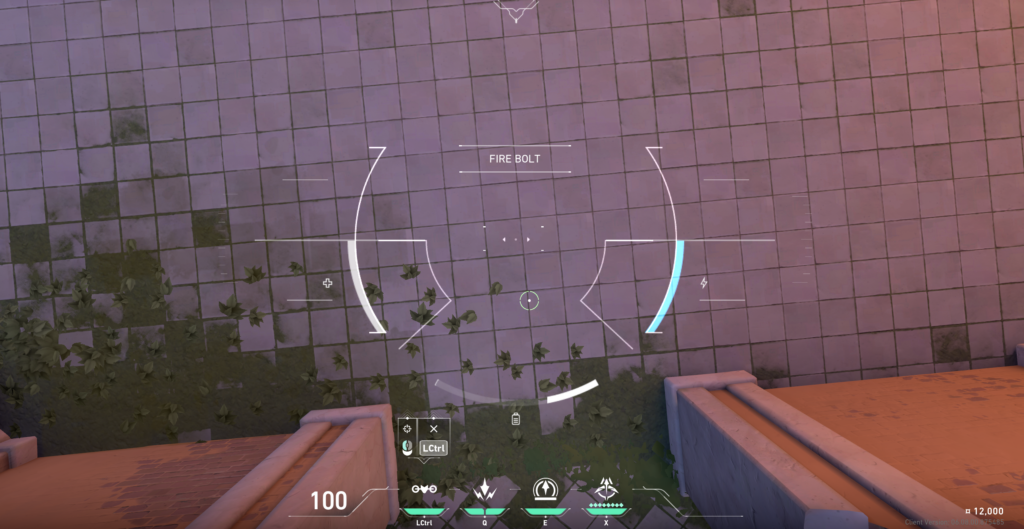
Relay Bolt
Neon’s Relay bolt ability, known more commonly as her stun, is a fantastic tool to stun large areas, which could leave several enemies waiting to be fragged on the follow-up. Unfortunately, this is precisely where the problem often lies, as most players aren’t following up when using Neon’s stuns. Remember, when you are stunning an enemy, it doesn’t help unless you can take the fight against them while they’re still stunned.
A stun may stall players for a short while, but that’s ultimately minor compared to a molly in that stun’s place. To get the most out of Relay Bolt, you should only use it when you or a teammate are ready to follow up and convert the stun into a frag.
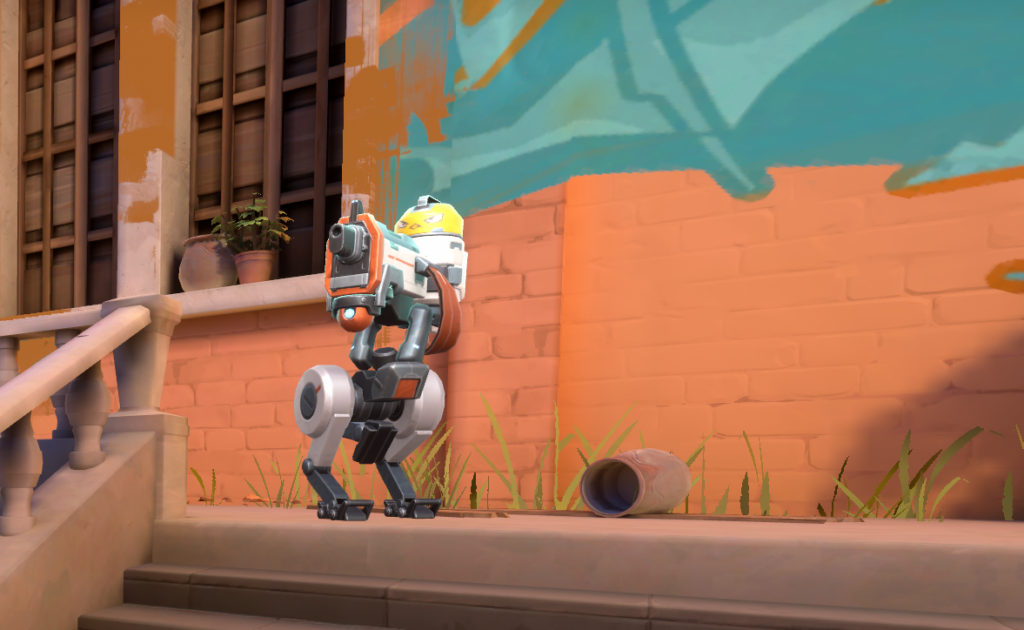
Wingman
The second Gekko ability on our list is Wingman, an ability that is essentially two utilities in one, as he can clear areas as a drone or run in to plant the Spike.
The problem we see is that there tends to be a lot more focus on the latter than the former. Why waste Wingman by attempting to plant in a site you have yet to clear? You could ultimately sacrifice Wingman to the opposing team and give up the Spike, leaving your team disadvantaged.
If you find yourself as the Spiker carrier as Gekko, more often than not, it will be more beneficial to use Wingman’s drone and stun ability rather than his ability to plant the Spike. Once he has helped you clear the site, you can stroll right in and plant the Spike yourself.
Wingman can stun an enemy quite easily, leaving a sitting duck in the site for your team to land a follow-up frag on. All in all, Wingman’s angle-clearing ability is more useful to the team than his bomb planting in a majority of scenarios, so think twice before sending the little buddy in to die with the Spike.
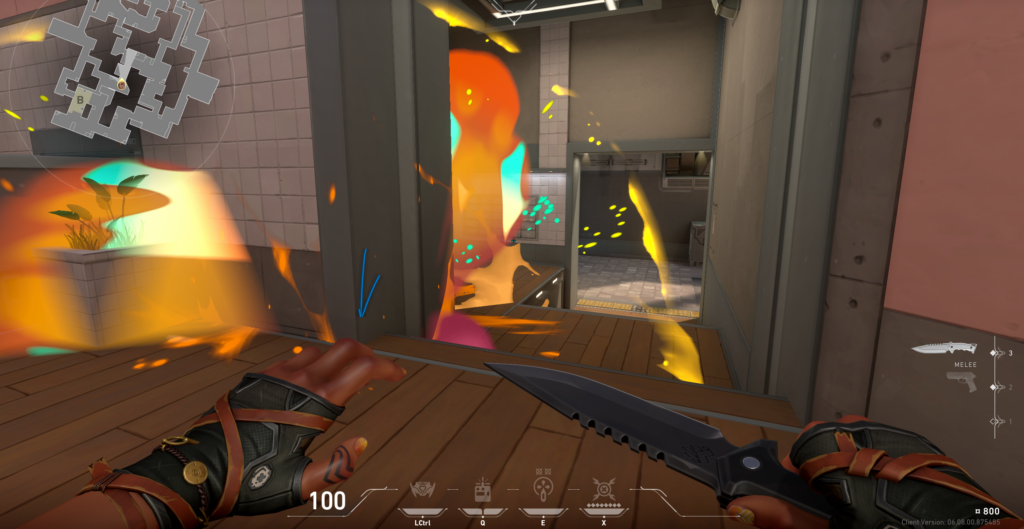
Phoenix Wall
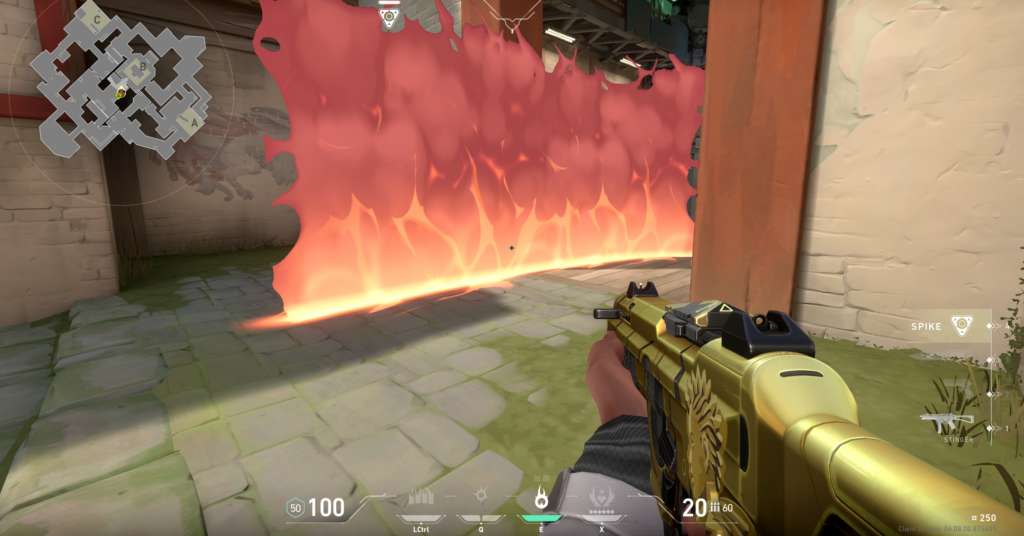
Most players are comfortable using Phoenix’s flashes and molly effectively, but an often ignored yet valuable part of his kit is his Blaze ability, also known as his Wall. Many players usually save their Wall for when they need a rapid heal, overlooking its use in other scenarios.
The wall can actually be a very effective tool for taking space and breaking up enemy sight lines. Its functionality is similar to Neon’s double wall, except it deals damage and is only one wall. That aside, in theory, it should be used similarly to set up a fast entry on a site and temporarily cut off a defender’s line of sight.
By popping up a Phoenix Wall as you enter a site, you provide your team with a corridor to enter and a convenient area to throw a flash through and pick off defenders you’ve caught off guard. Start using the wall to take some free space rather than using it for emergencies only, as you are much more likely to win rounds if you’re taking over the map.
Dimensional Drift

Yoru’s ultimate is a fantastic repositioning tool and one of the best reconnaissance abilities in the game. You’re able to move anywhere you want and throw out utility with complete impunity. The trouble is that Yoru players will often use their ultimate in selfish ways, either to secure a free kill or to outplay an individual opponent instead of using it for the team.
Dimensional Drift is a convenient way to clear out entire sites and collect information on defenders’ positions. You can also throw flashes at the enemies or distract them with clones or fake teleports, so your team can follow up more easily. The takeaway is that you should occasionally start treating Yoru’s ultimate as a superpowered drone.
You can continue to use the ability to surprise opponents with some outplays of course; we recommend not using it that way every single time, since even a solid early-round pick pales in comparison to opening up an entire site.
As a bonus tip, Dimensional Drift is handy when trying to drive Vipers out of their ults or to finish them off. Just stand right next to the Viper in her ult and tell your team to spray your position, and there you have it, a free Viper kill.
Seekers
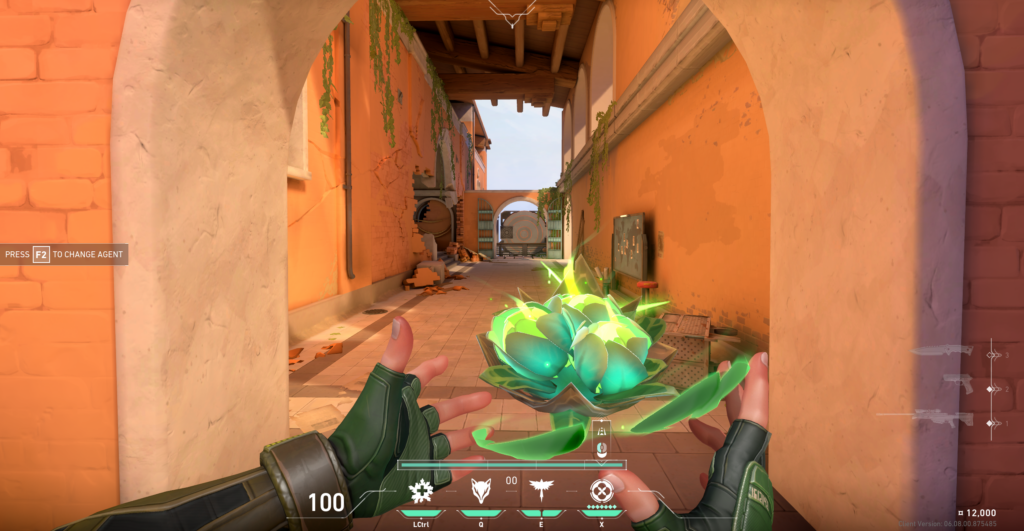
While Skye’s Seekers are one of the best information-gathering ultimates in VALORANT, the mistake we often see many players making is not knowing when to use it. It’s a fairly situational ult that thrives in those mid-round situations where you aren’t sure where the enemies are positioned, and you need to decide on rotating or staying put.
By sending the seekers out in, perhaps, a 3vs3 situation where you still have to push a site, you can find out where most of the opponents are and head in the opposite direction. Utilizing this information in these critical moments will dramatically increase the ultimate’s round-winning potential.
It may seem appealing to send them all around a blind corner to root out an enemy, but this will likely result in all of the Seekers being gunned down instantly, but this is a waste. Think of the Seekers as a tool to help you decide on the best course of action in the mid-round rather than a clutch cure-all to finish off opponents. This way, you will get much more value, and you may realize just how powerful Skye’s ult truly is.
Healing Orb
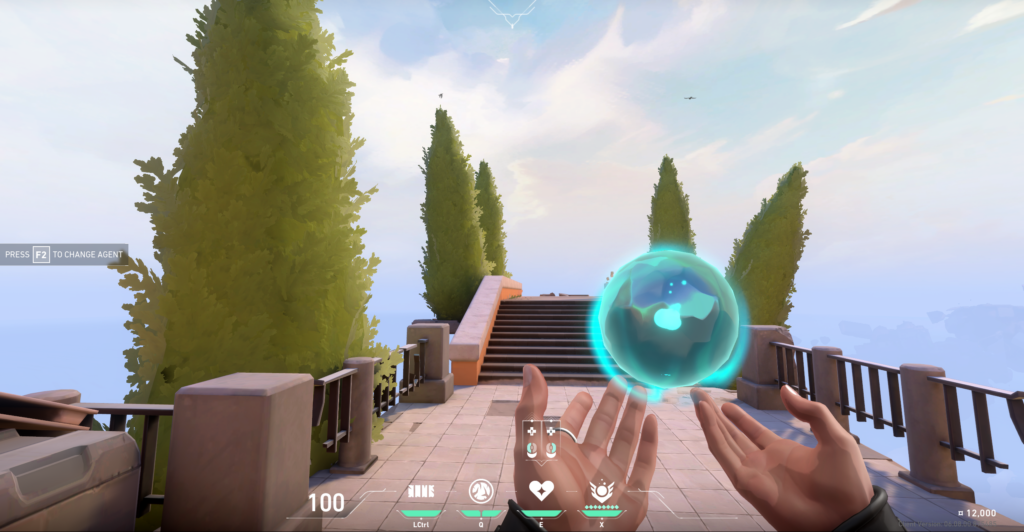
Last on our list is Sage’s heal, which is excellent for getting teammates topped off and ready to run headfirst into more battles. The orb regenerates up to 100 HP for allies and merely 30 HP for the Sage player. Simple math would indicate that this ability is far more efficient when used to heal your teammates instead of yourself.
If you find yourself needing to decide on healing yourself or a teammate, you should almost certainly pick the teammate. They can tank significantly more damage than you, giving your team a significantly higher chance of pulling out that round. While it may seem counter-productive to heal the 1-11 Reyna on your team, you should still do what’s best for the team as a whole.
Now looking back, how many of these abilities were you using incorrectly? Consider the information provided, as it can help you look at VALORANT abilities from a brand new angle. Keeping this all in mind, you will be able to see the big-picture potential in the new abilities being added to the game in the future.